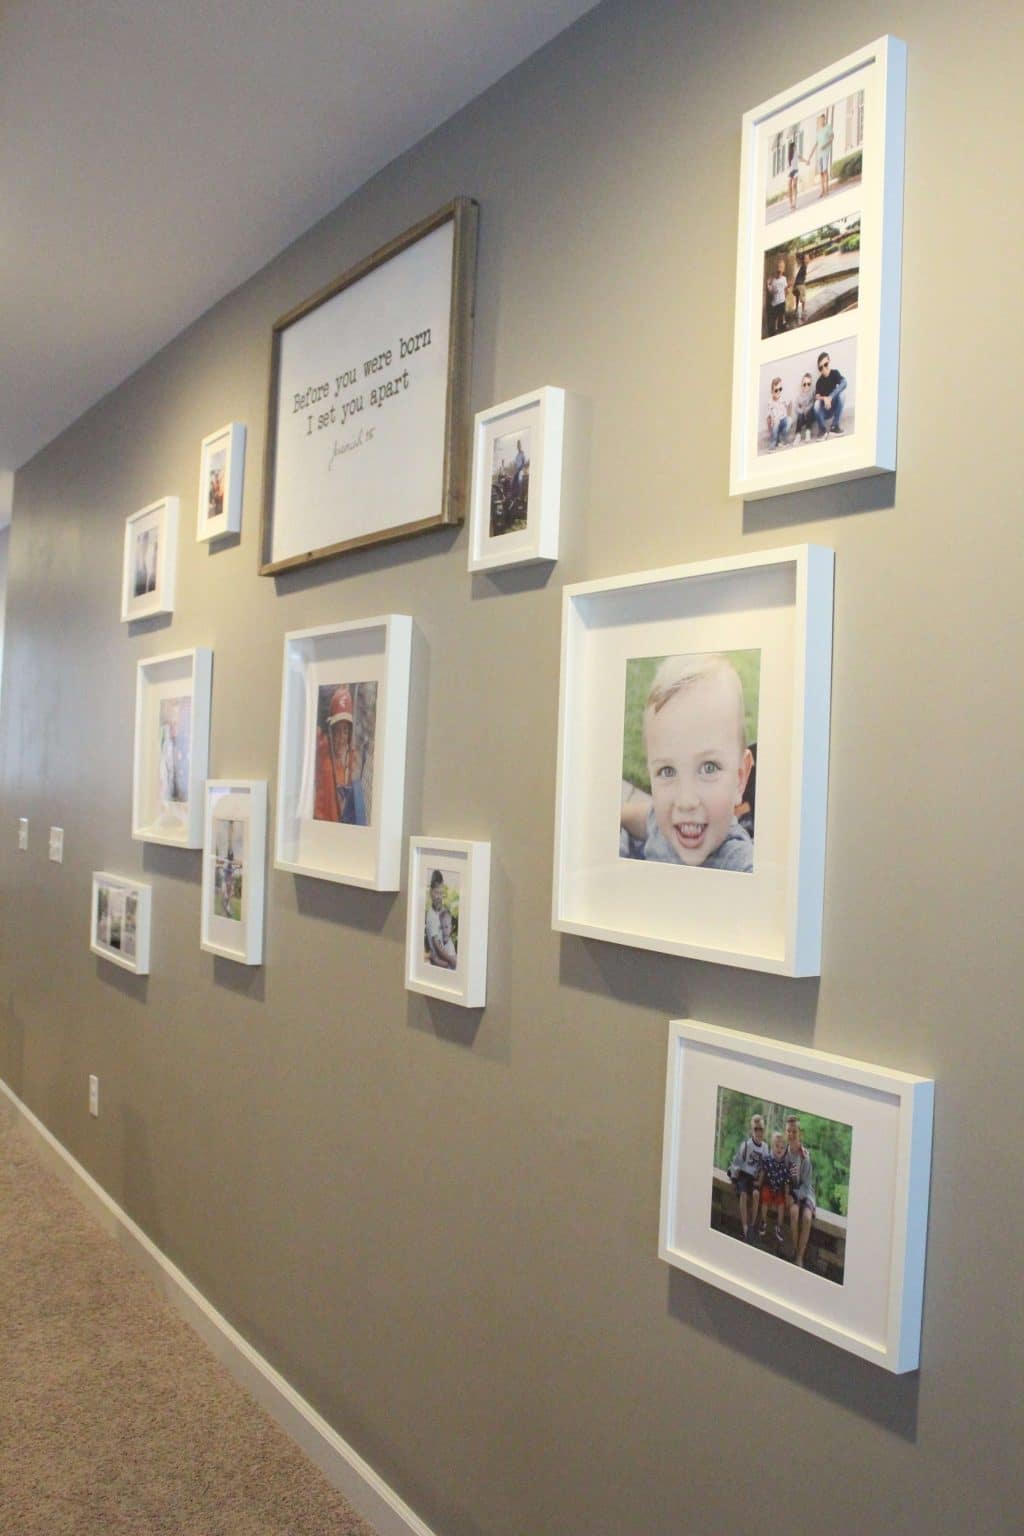
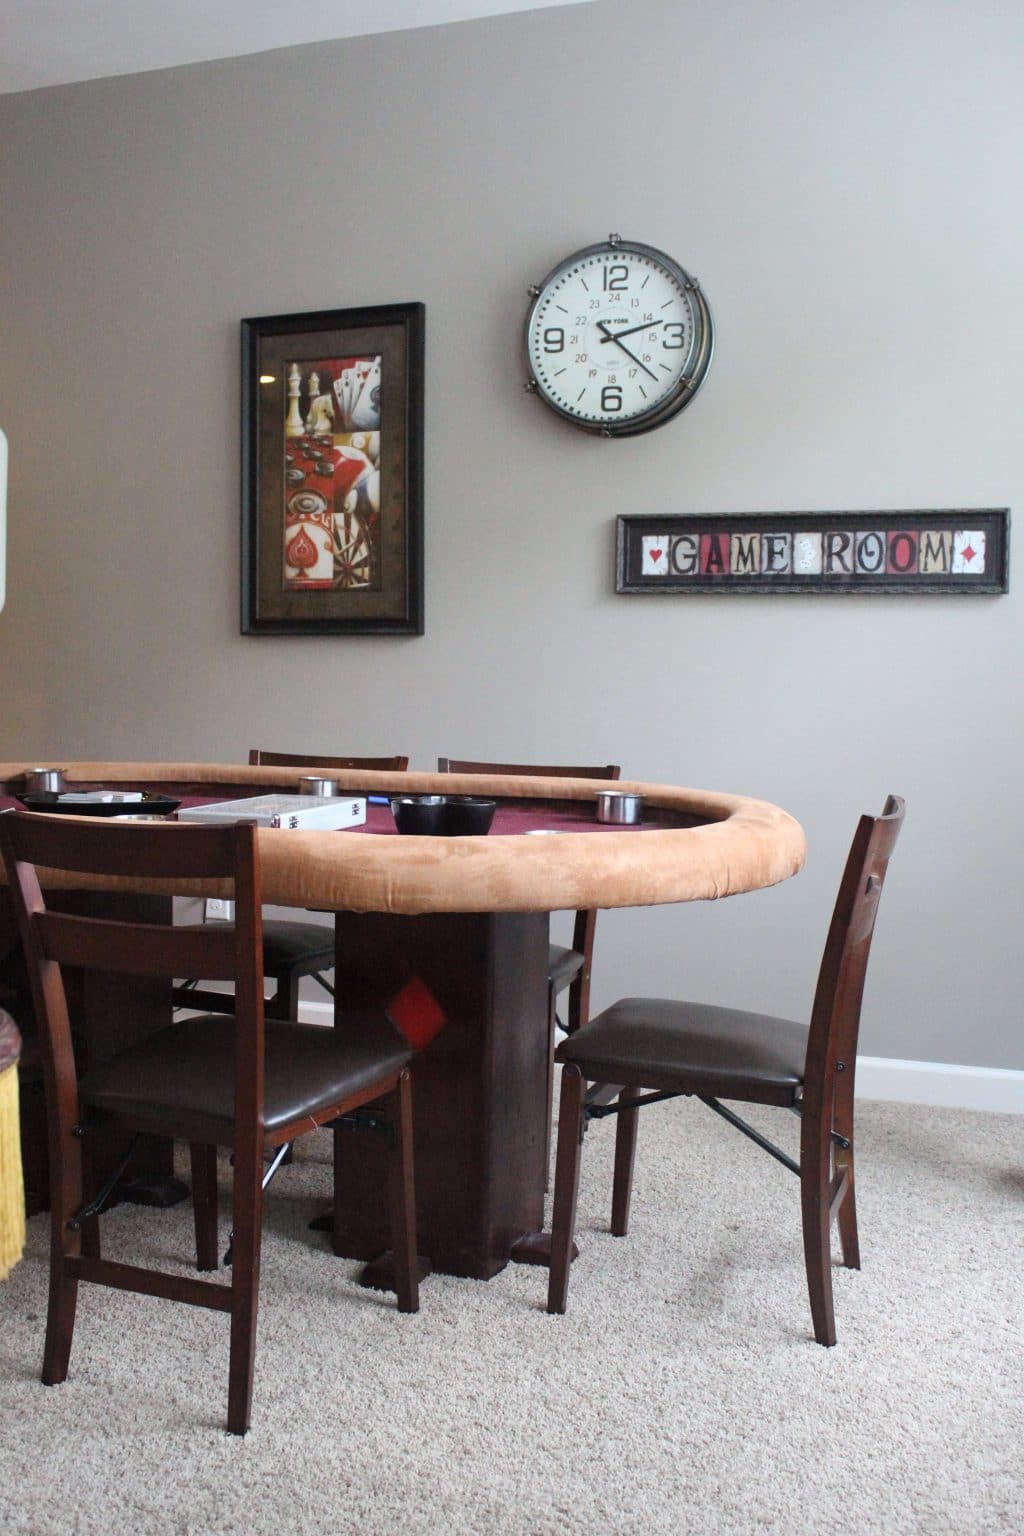
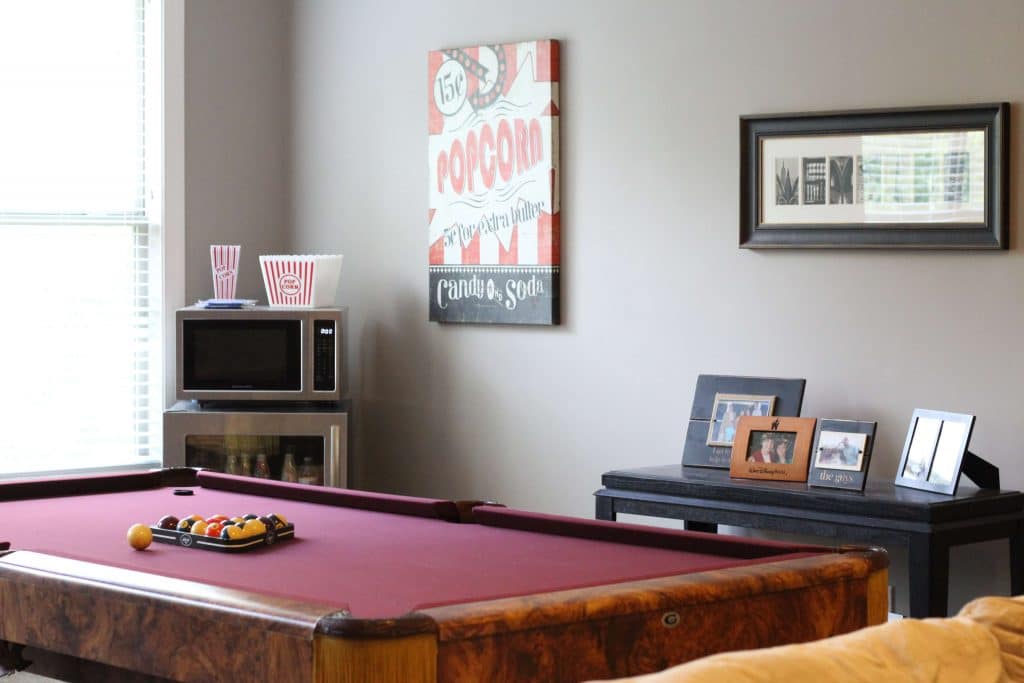
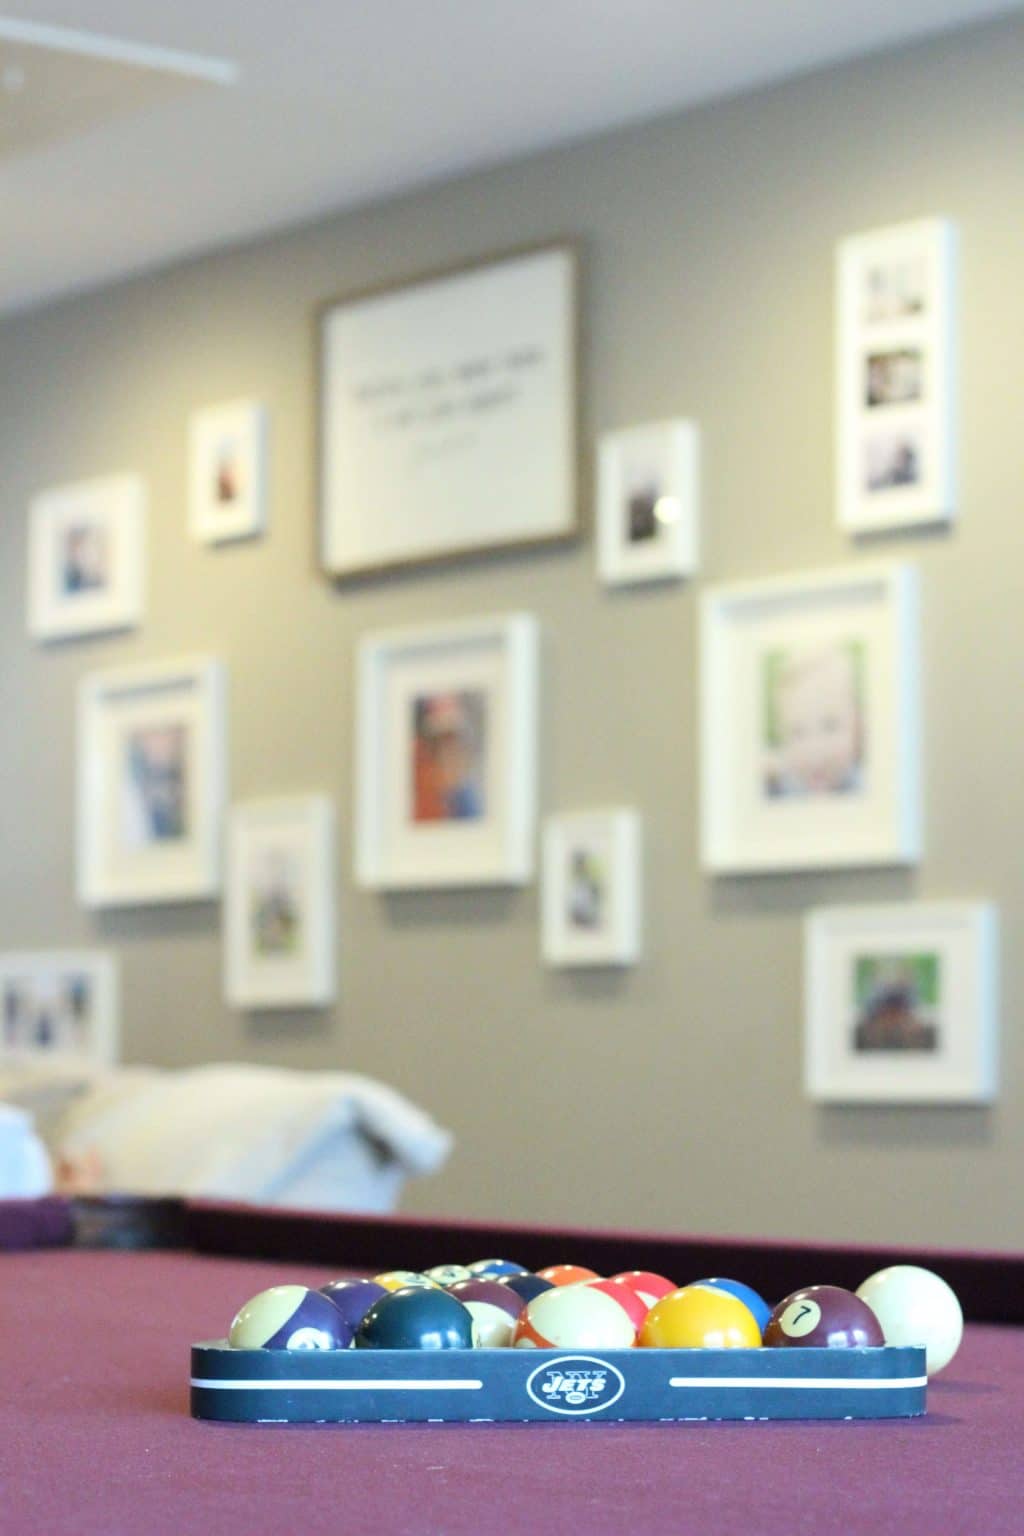
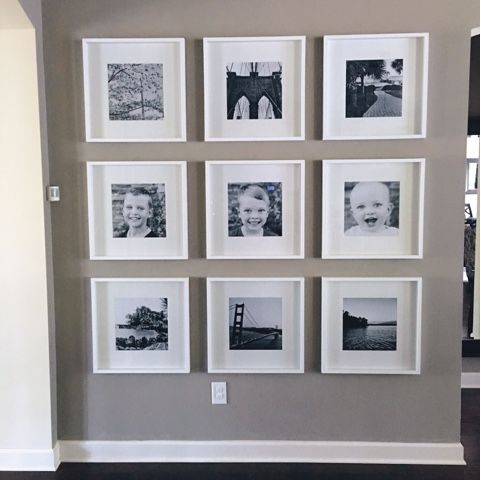
We hung this gallery wall in our upstairs living room back in the spring. Finally got pictures in the frames in the summer and am just now getting this post written! So many of you asked how we decided about the frames, sizing, photos and where everything went. I’ll show you the whole gallery wall process, plus pictures of our game/family fun room.
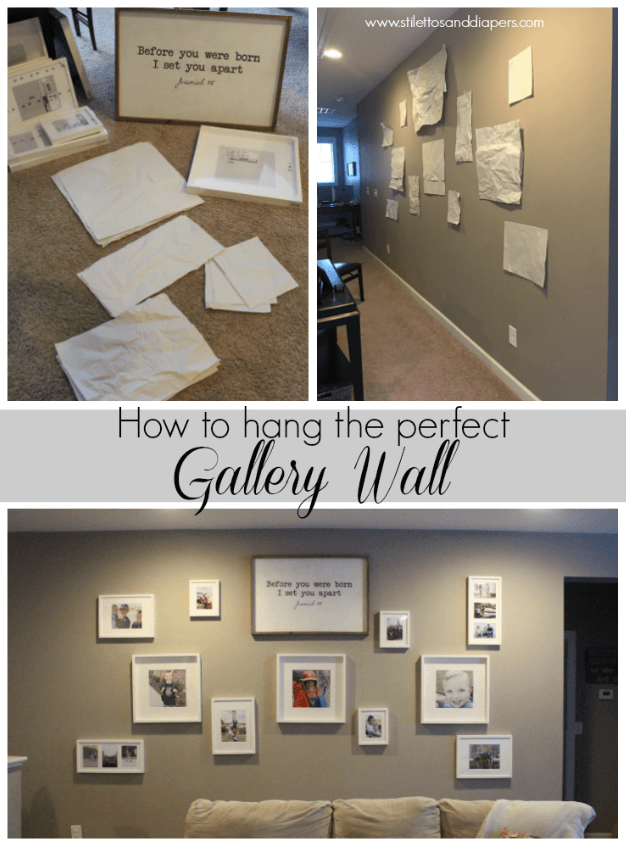
Step 1.
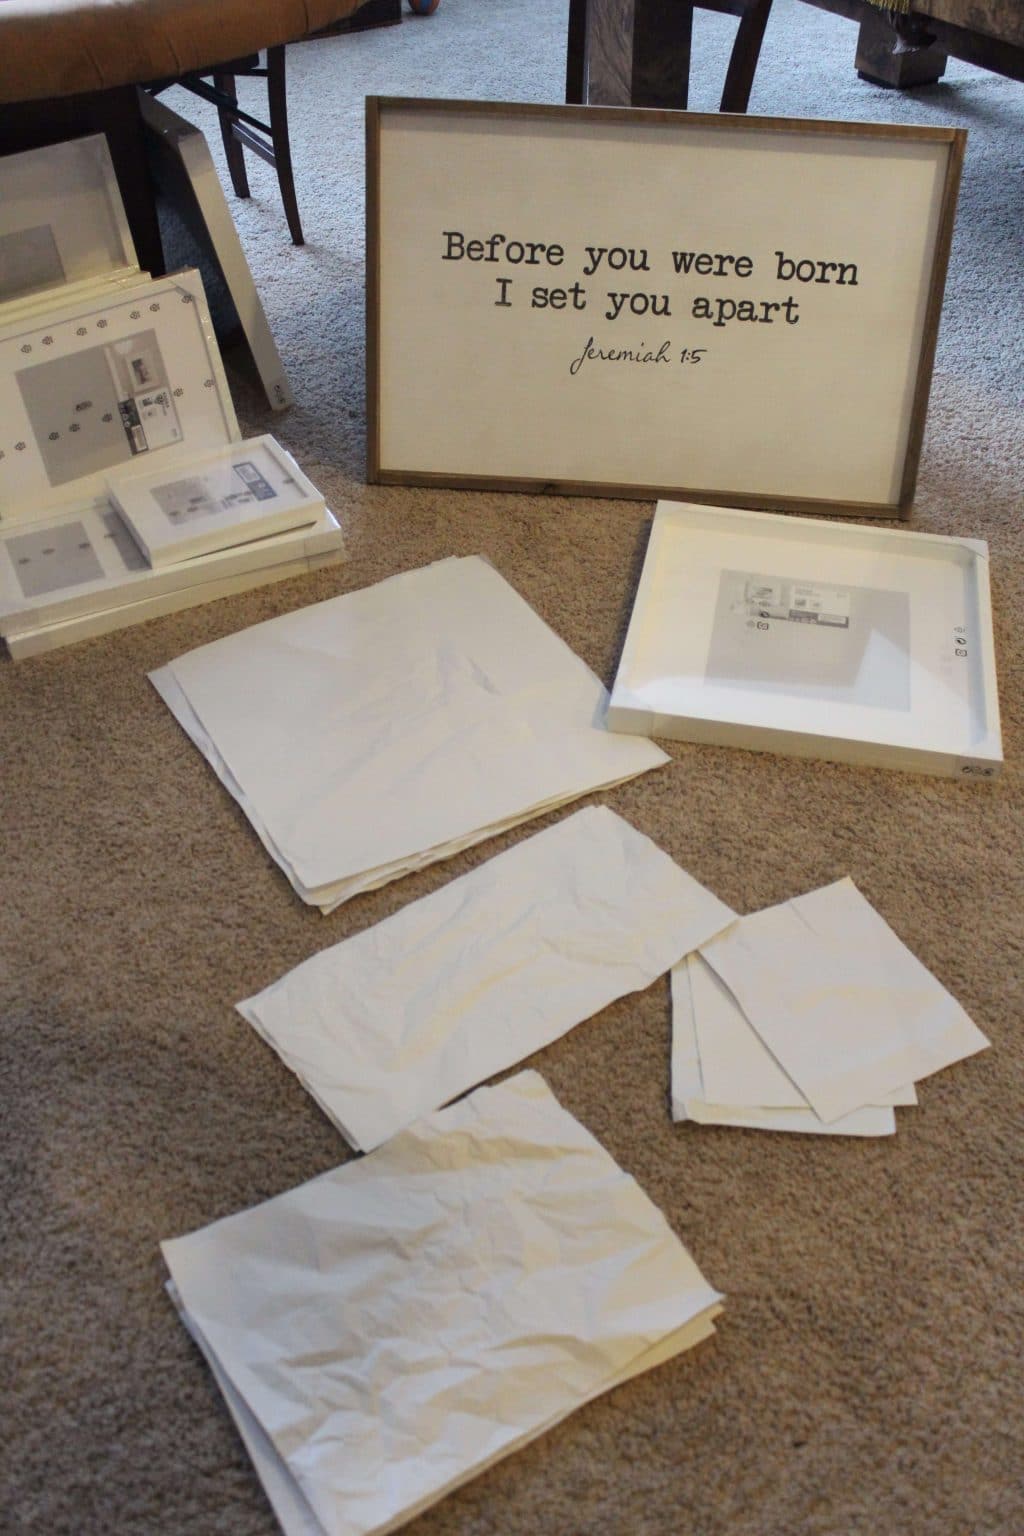
Gather frames that you want, plus any signs or non photo prints. We fell in love with this sign from Hobby Lobby and decided to keep it in the center of our babies photos. The one online is much smaller than ours, but I found this one with really pretty print, too. The white frames we used are all the Ikea Ribba line. I wanted different sizes, but unity in the look, so finding a whole line worked out perfectly. We ordered all the prints from Persnickety Prints and they’re the best for the 12×12 squares!
Step 2.
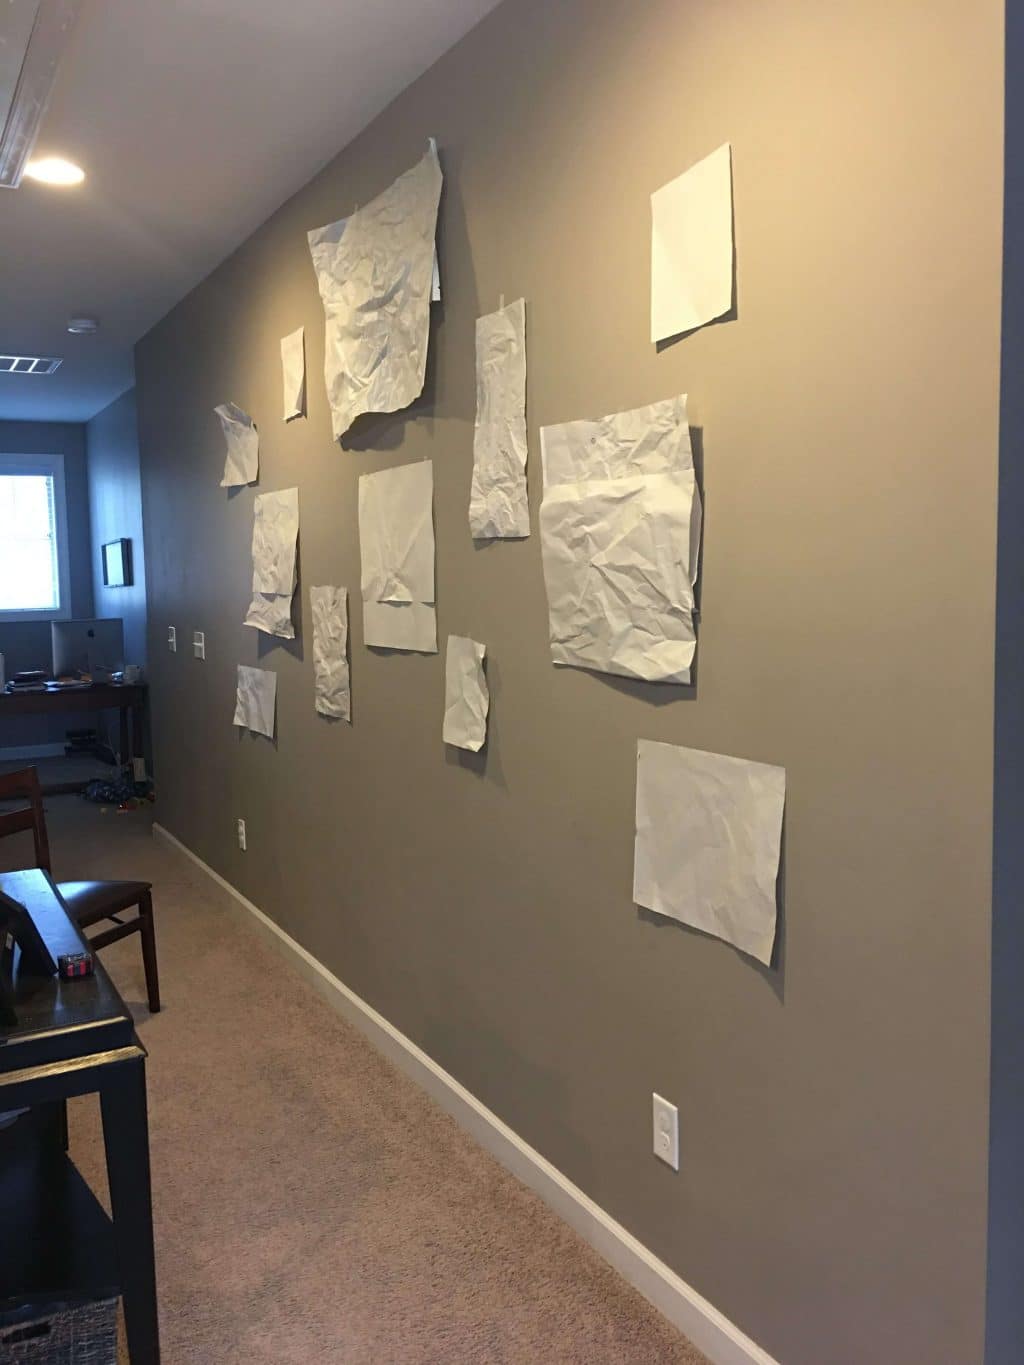
Use wrapping paper, packing paper or newspaper to cut pieces the same size as your frames. Tape them to the wall and move everything around until you’re 100% satisfied with the look. This is the key to a perfect gallery wall, in my opinion!
Step 3.
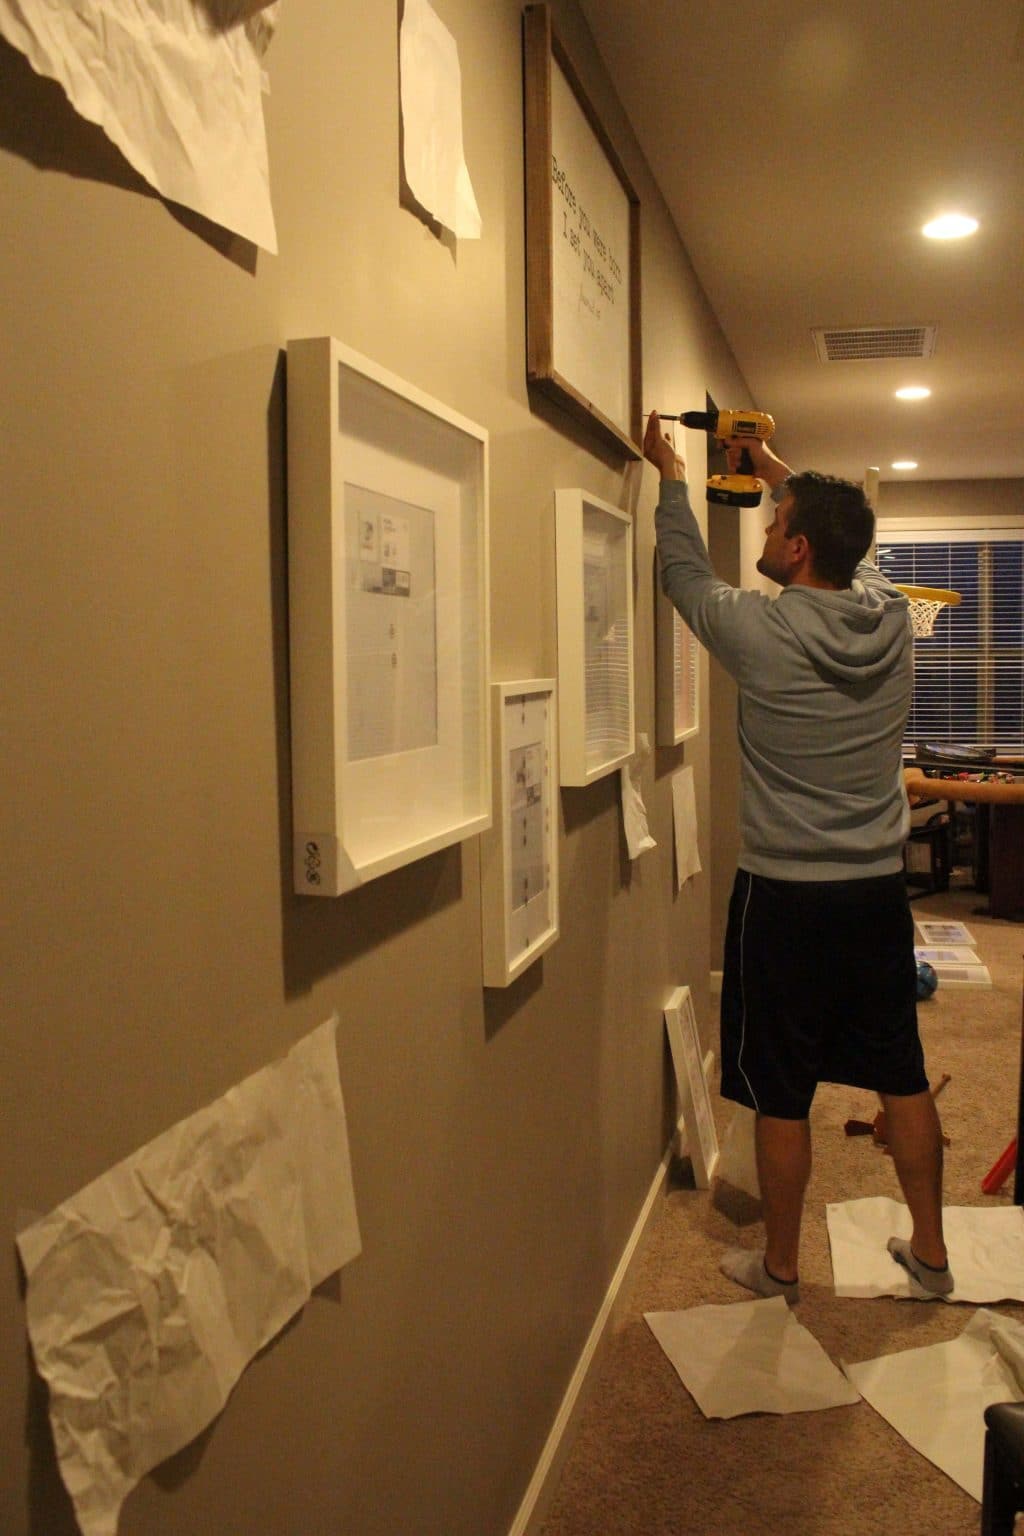
Take the paper off one by one and hang your frames.
Step 4.
Give yourself a pat on the back and pour a drink. You did it!
We’ve lived in this house almost 5 years now and this room was really the last to get it’s style. The gallery wall and a smattering of New York sports goods finished off our space! We spend a lot of time watching movies in this room and my office nook is straight ahead by that window. I love being close to the boys while they play! We put our old living room furniture up here when we moved in and got new stuff. It’s absolutely seen better days, but it’s that comfortable kind of furniture that you can totally relax in. Add all the random pillows from your stock pile and voila!
Gallery Wall Sources:
Gallery Wall Sign: Hobby Lobby
Gallery Wall Frames: Ikea Ribba
Photo Prints: Persnickety Prints
Paint: Sherwin Williams Mega Greige
