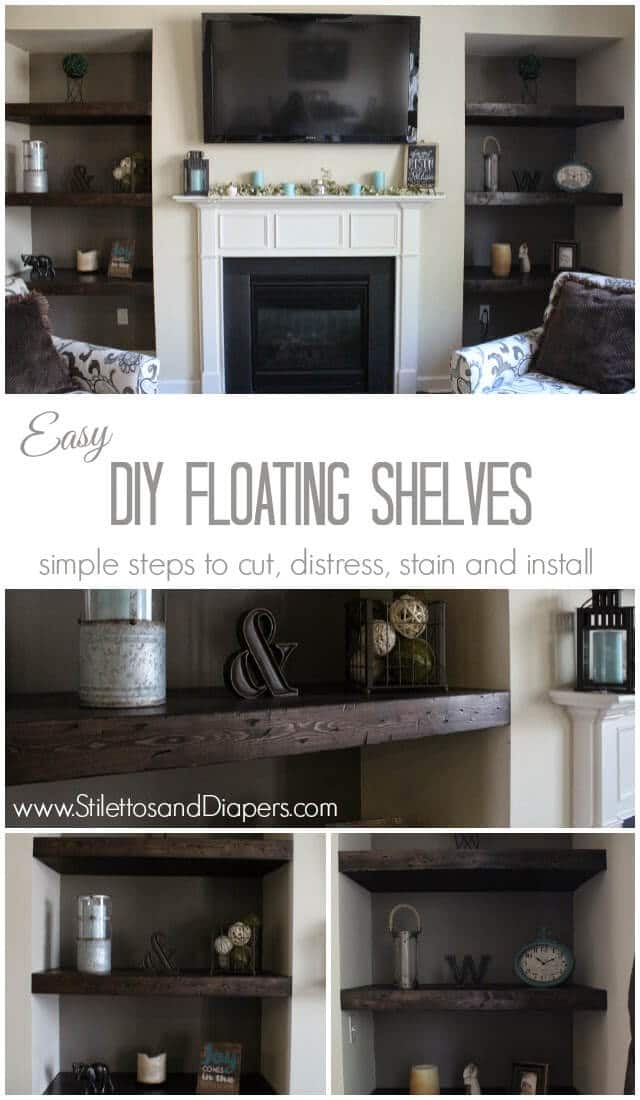
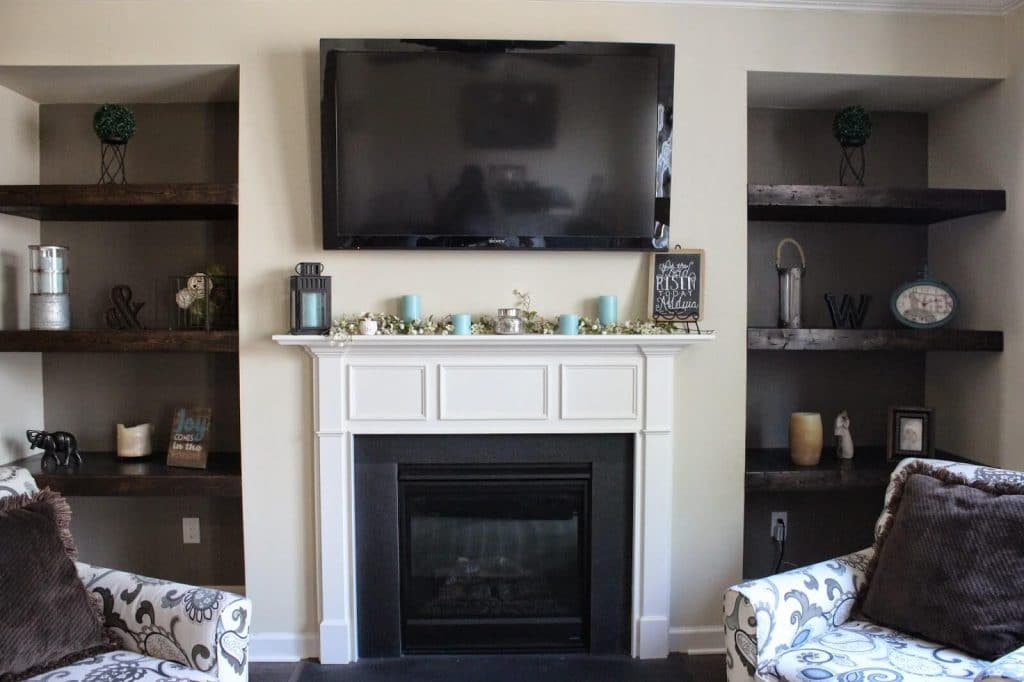
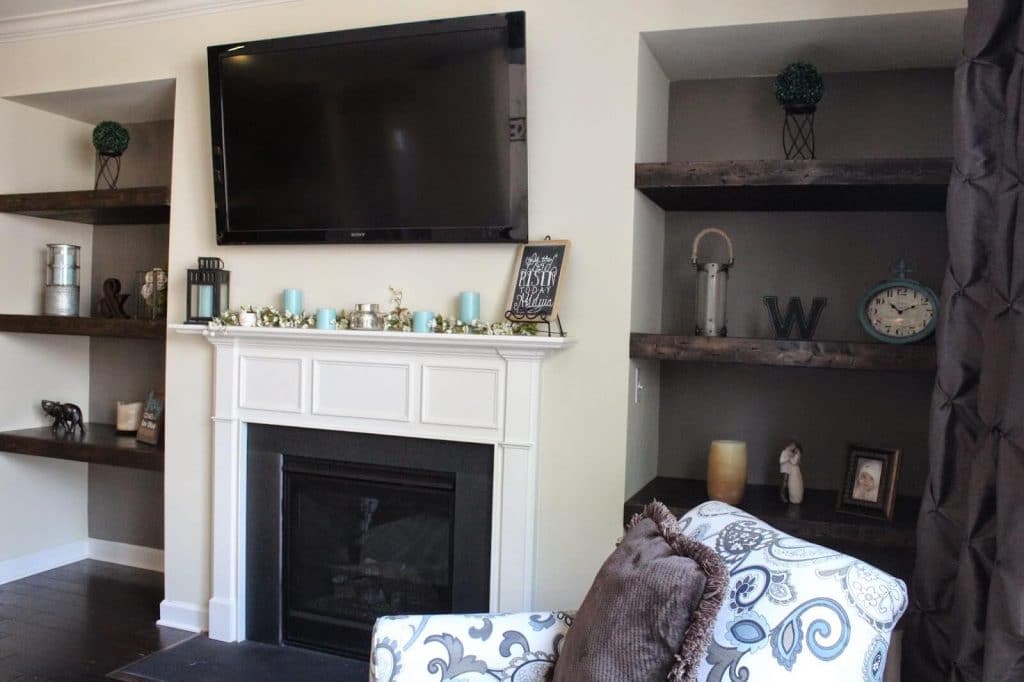
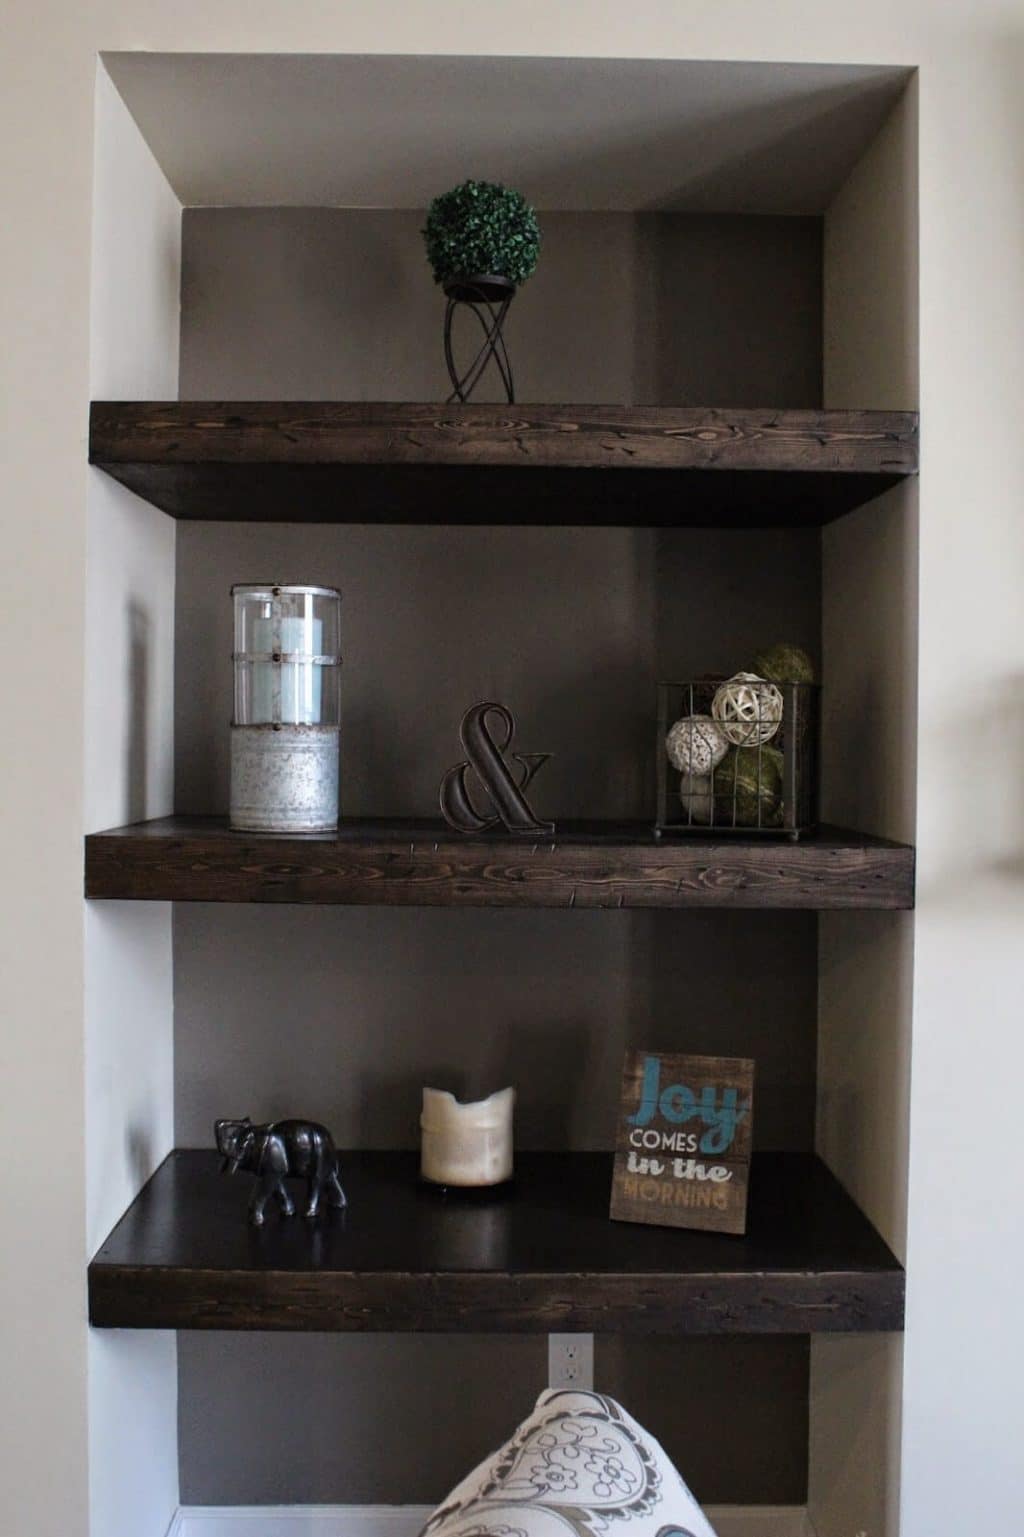
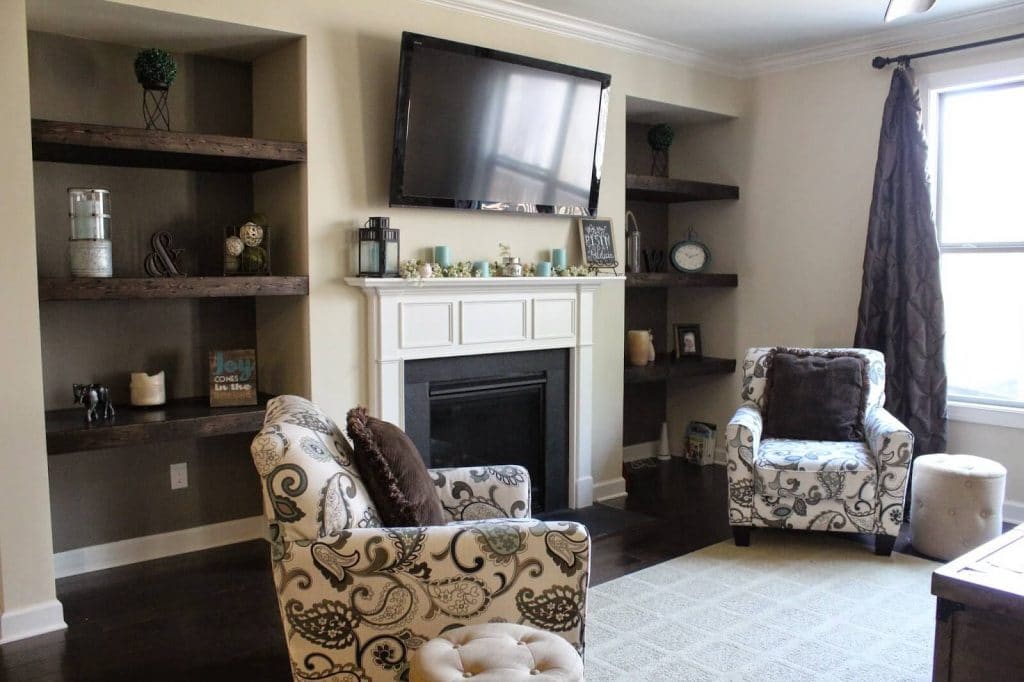
We’ve been wanting to do something with the spaces beside our fireplace since we moved in over a year ago and finally bit the bullet with these easy, DIY floating shelves.
I’ll give you the run down on how we went about building the shelves. Forgive the crappy progress pictures. We did a lot in the evening and it was hard to get a good shot!
Here are the items we used:
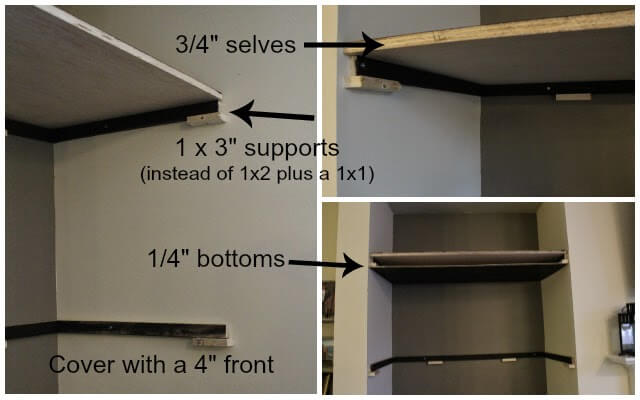
Shelves: 3/4″ maple plywood, in desired size.
Supports: 1×2″ boards (but would have used 1×3″ boards if we did it again)
Bottoms: 1/4″ maple plywood, same size as shelf
Faces: 1×4″ boards (which we cut to length with our jigsaw)
Sand paper
Stain: we used Rust-oleum in the color “Kona”
Polyurethane
2″ wood screws
1″ wood screws
Wood glue
Brads
Dark small wood screws
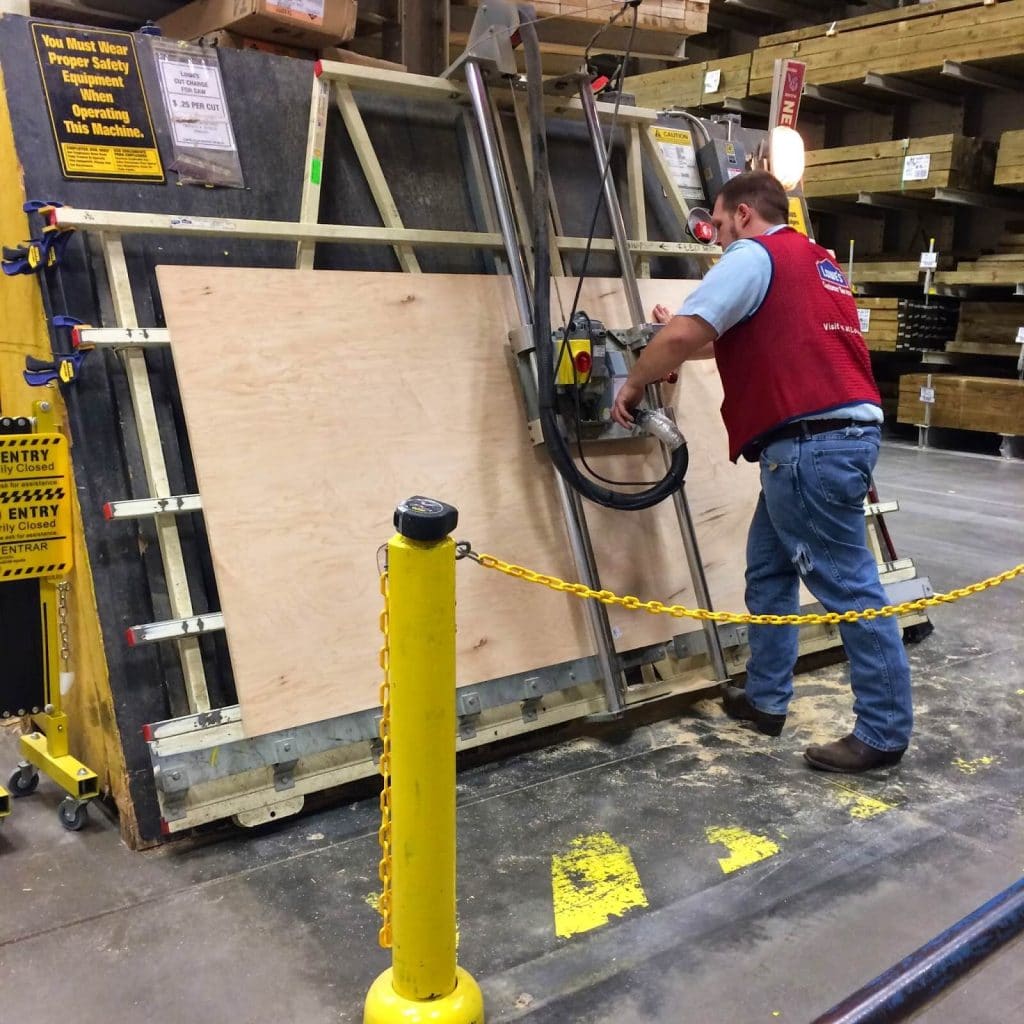
Now, we don’t own a big powerful saw. The most exciting thing we have is a jigsaw and that will not work for these big pieces. So, I got all the wood at Lowe’s and had the guys cut the shelves and bottoms to size for me. They charge $0.25 per cut after 2 cuts, I believe, so it’s totally worth it to let them do it.
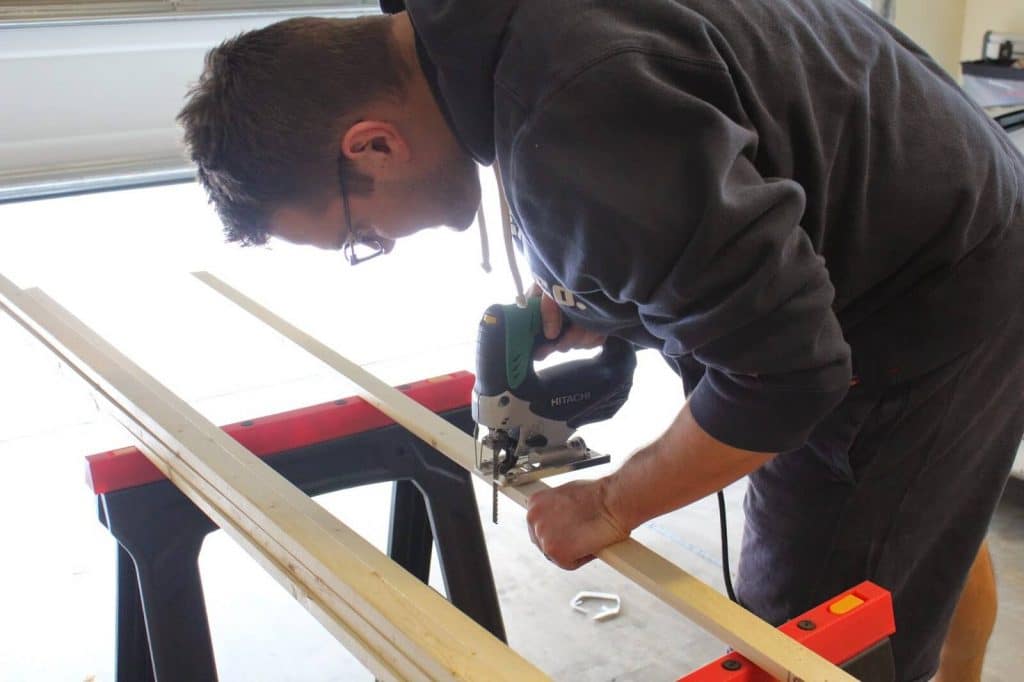
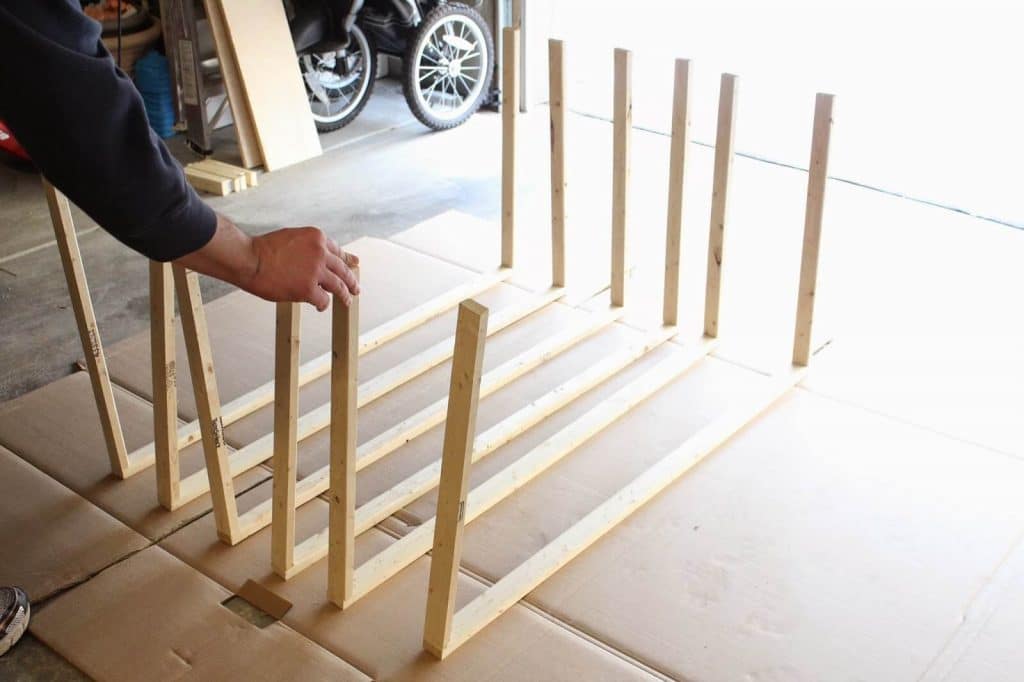
First thing we did, was build the supports. You’ll need support on the back, as well as the sides, if applicable. You can make these completely floating, being attached only on the back, but I probably wouldn’t make them more than a couple feet long and maybe a foot deep if you do that. We cut the support pieces ourselves with a jigsaw.
Then simply attached them with wood screws to make the “U” shape frame.
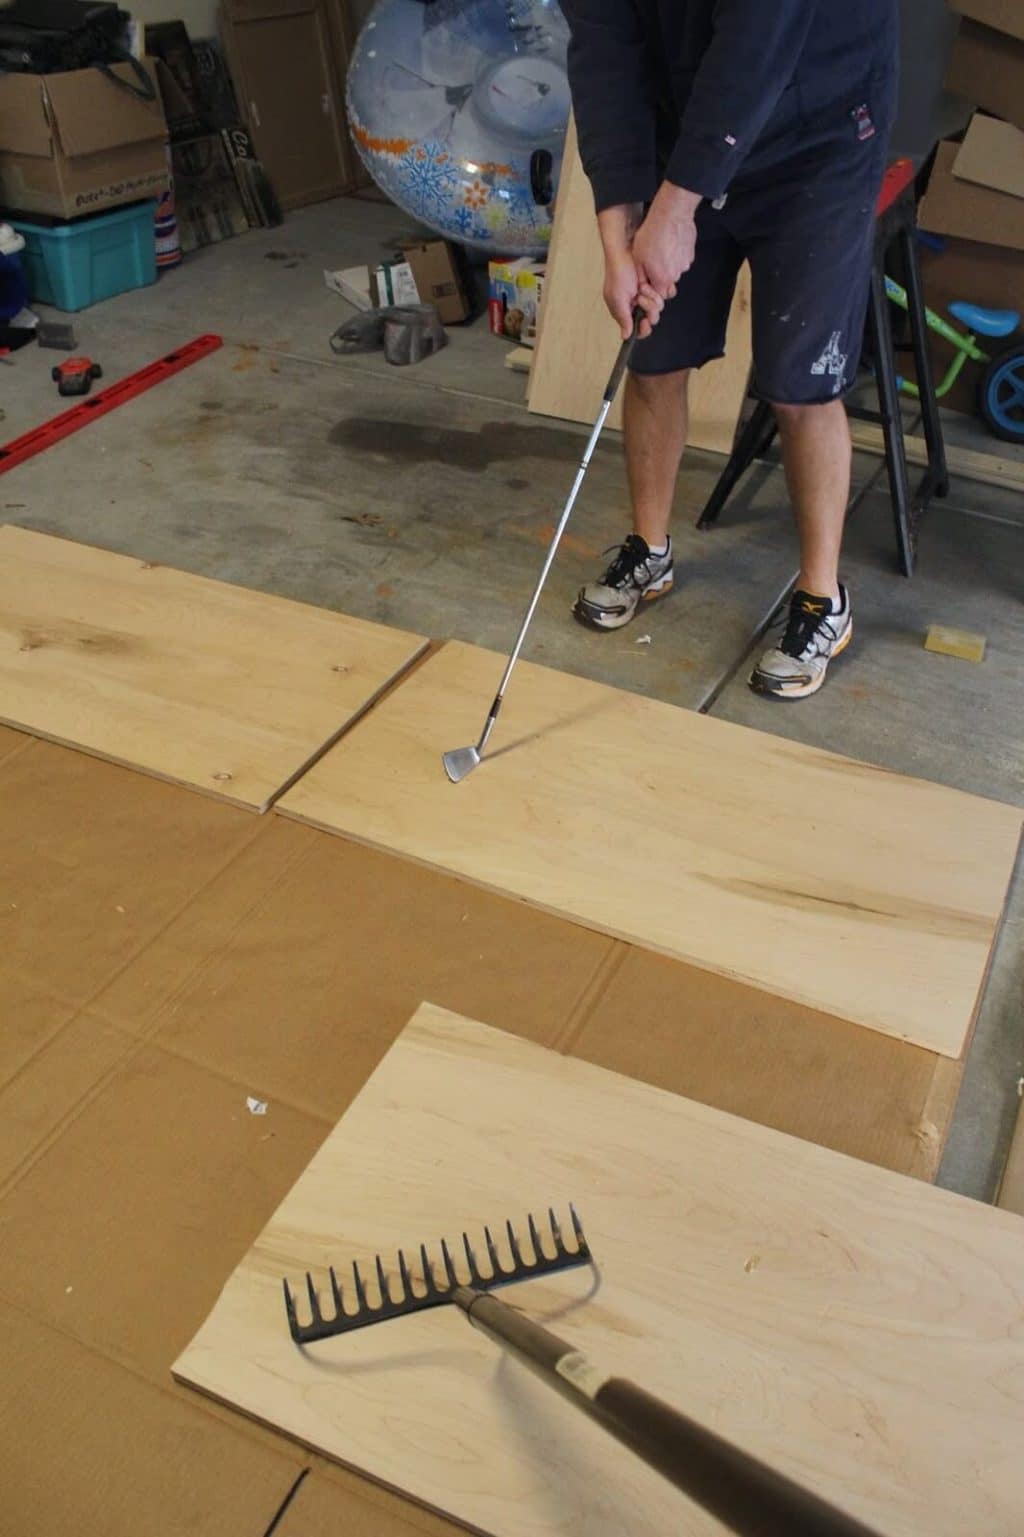
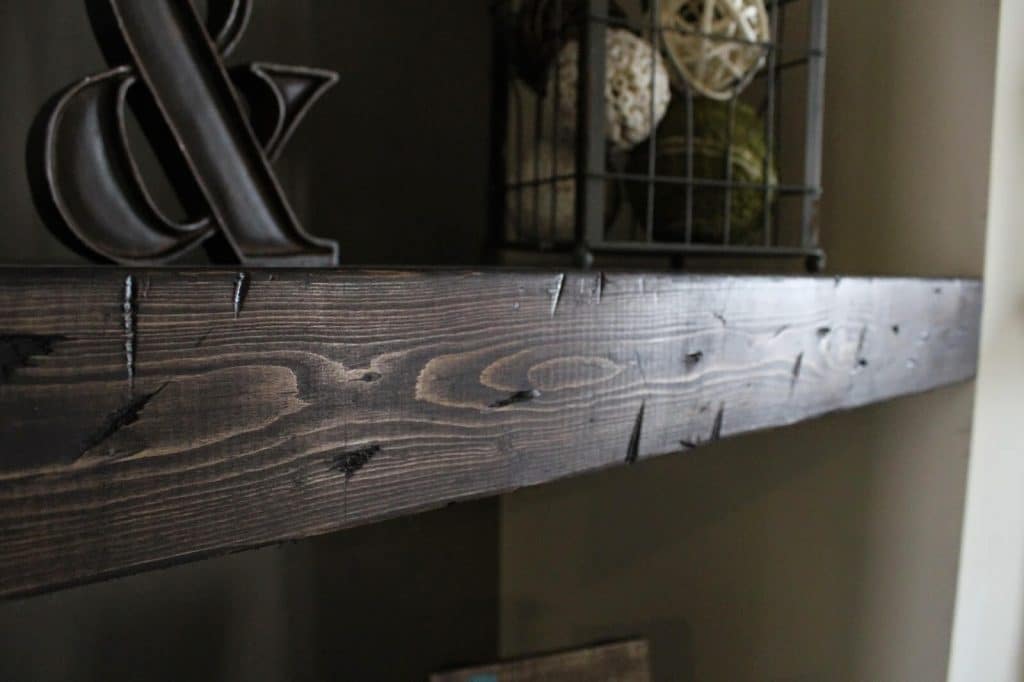
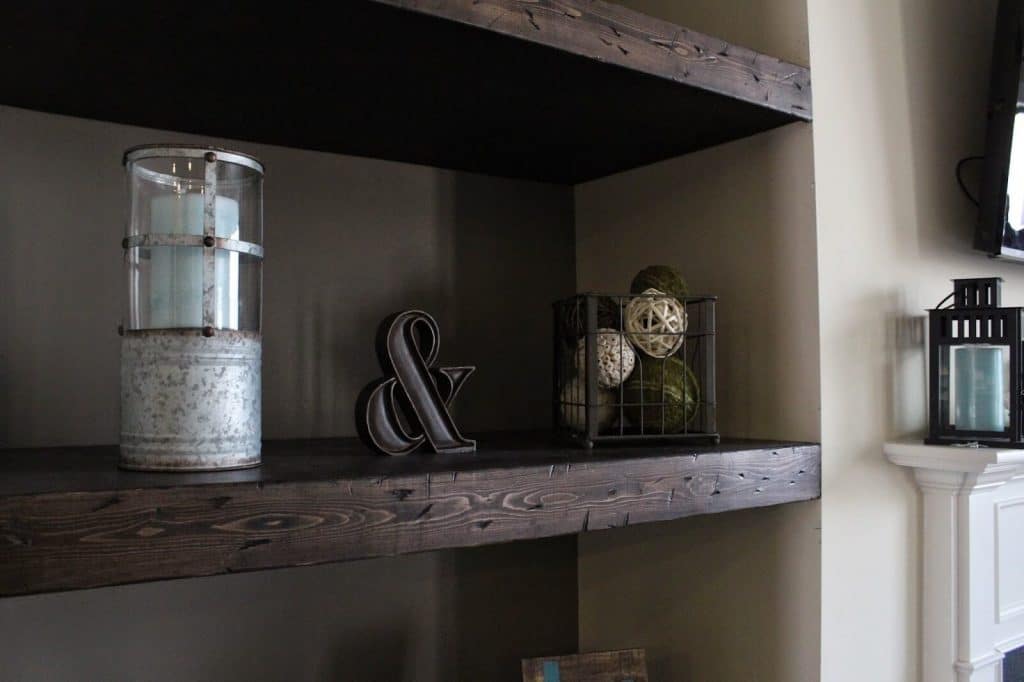
We wanted a distressed look to our shelves, so we went at the wood with golf clubs, hoes and hammers to beat them up a bit. We made sure to sand down any really uneven pieces we created, then wiped them all off before staining.
The stain turned out beautiful, I think. The hubs used a brush on the shelves and ended up using a rag on the fronts. He says he wishes he had just used the rag on all of it, because it went on a bit thinner. You don’t need to distress the bottoms, but they do need to be stained.
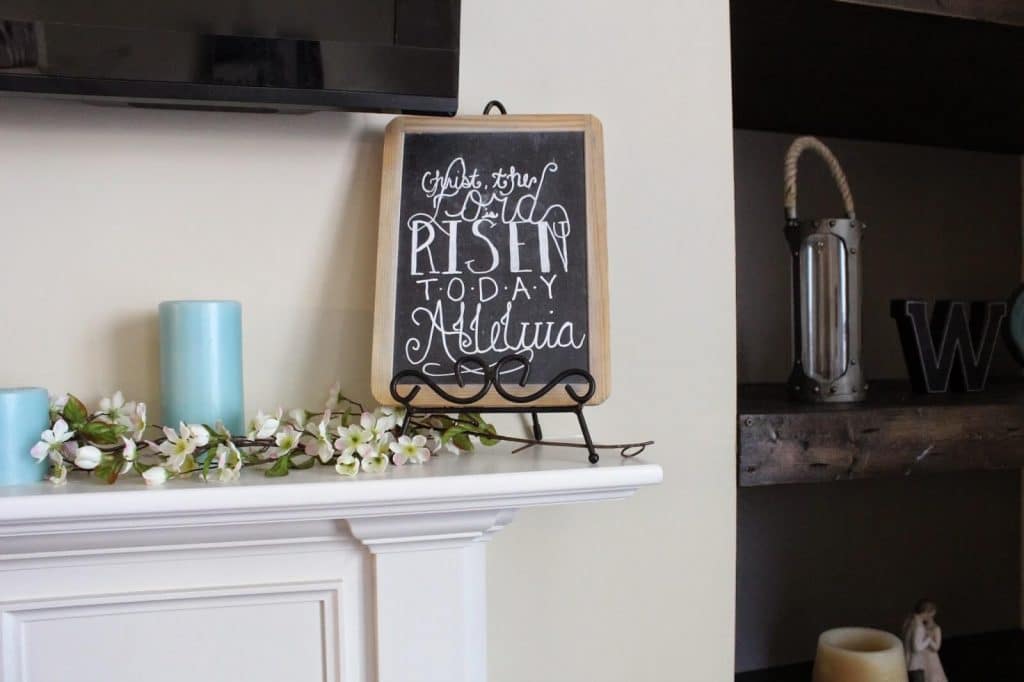
We finished just in time to put out some Easter decor!
I got pretty much all of the decorations for the shelves from Hobby Lobby.





They look great, Molly!! I love my DIY projects, my favorite piece that I've done is my wine rack and my favorite that my father made was Millie's cradle.
Love how they turned out! Must have been fun going at them with clubs and rake too 😉
Those are some great looking shelves!! Great DIY!
They look great!
These look amazing. Couple of questions though: did you use dark small screws to attach the fronts (one of the pictures shows a screw)? did you use any wood filler to conceal the screws holding the tops/bottoms?
We used dark finishing nails for the most part, but there were a couple spots that didn't want to stay for some reason. For those, we did use a small dark screw and didn't fill it. They're really hard to see!