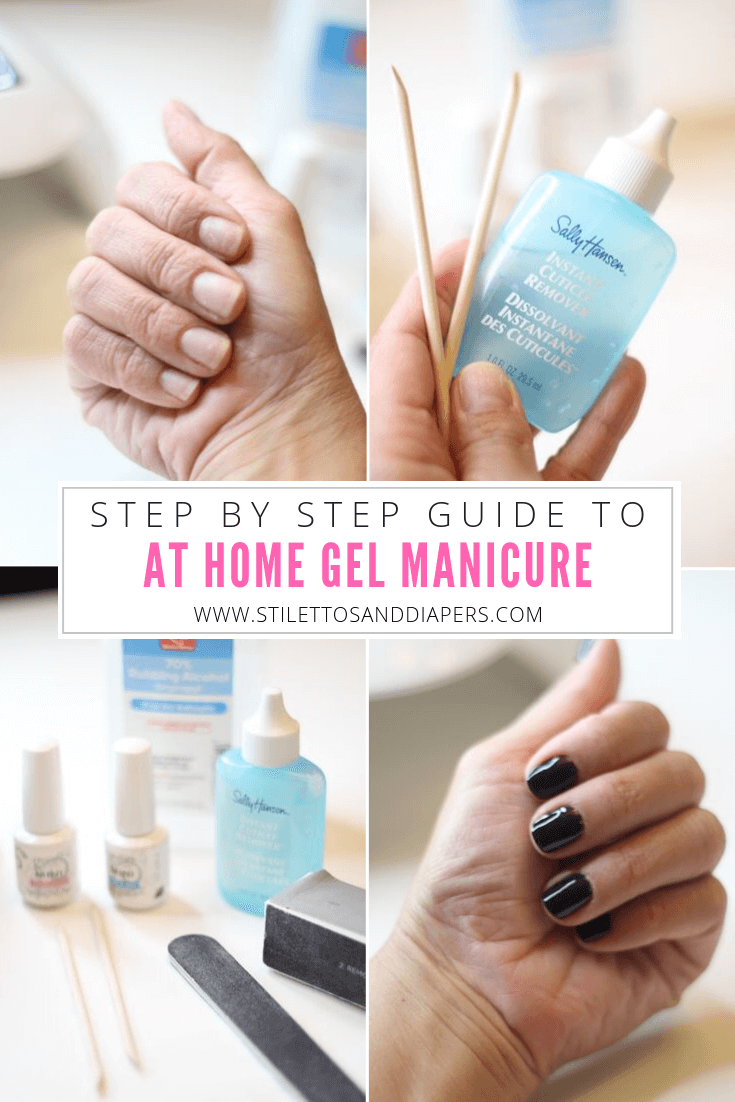
I’ve never been a big gel nail person, mostly because I could rarely justify the time spent sitting in a salon, or the amount of money a gel manicure cost. I would get them done for vacations or special events, but outside of that, I just kept them painted with regular polish. About 4 months ago, I decided I was tired of having chipped nails and having to paint every few days and I bought a gel light. The process is a bit of a learning curve and my first few times, the gel only lasted about a week. I felt a bit discouraged, but I knew people that did this with good success and I was determined. After a bit of practice, I can now wear my own gel for about 2.5 weeks and it’s amazing! I love being able to go an at home gel manicure while I’m watching a movie with the family or just hanging out at night. If you like your nails painted, I recommend this process so much, as it’s really saved me time and money!
WHAT YOU NEED FOR AT HOME GEL MANICURE
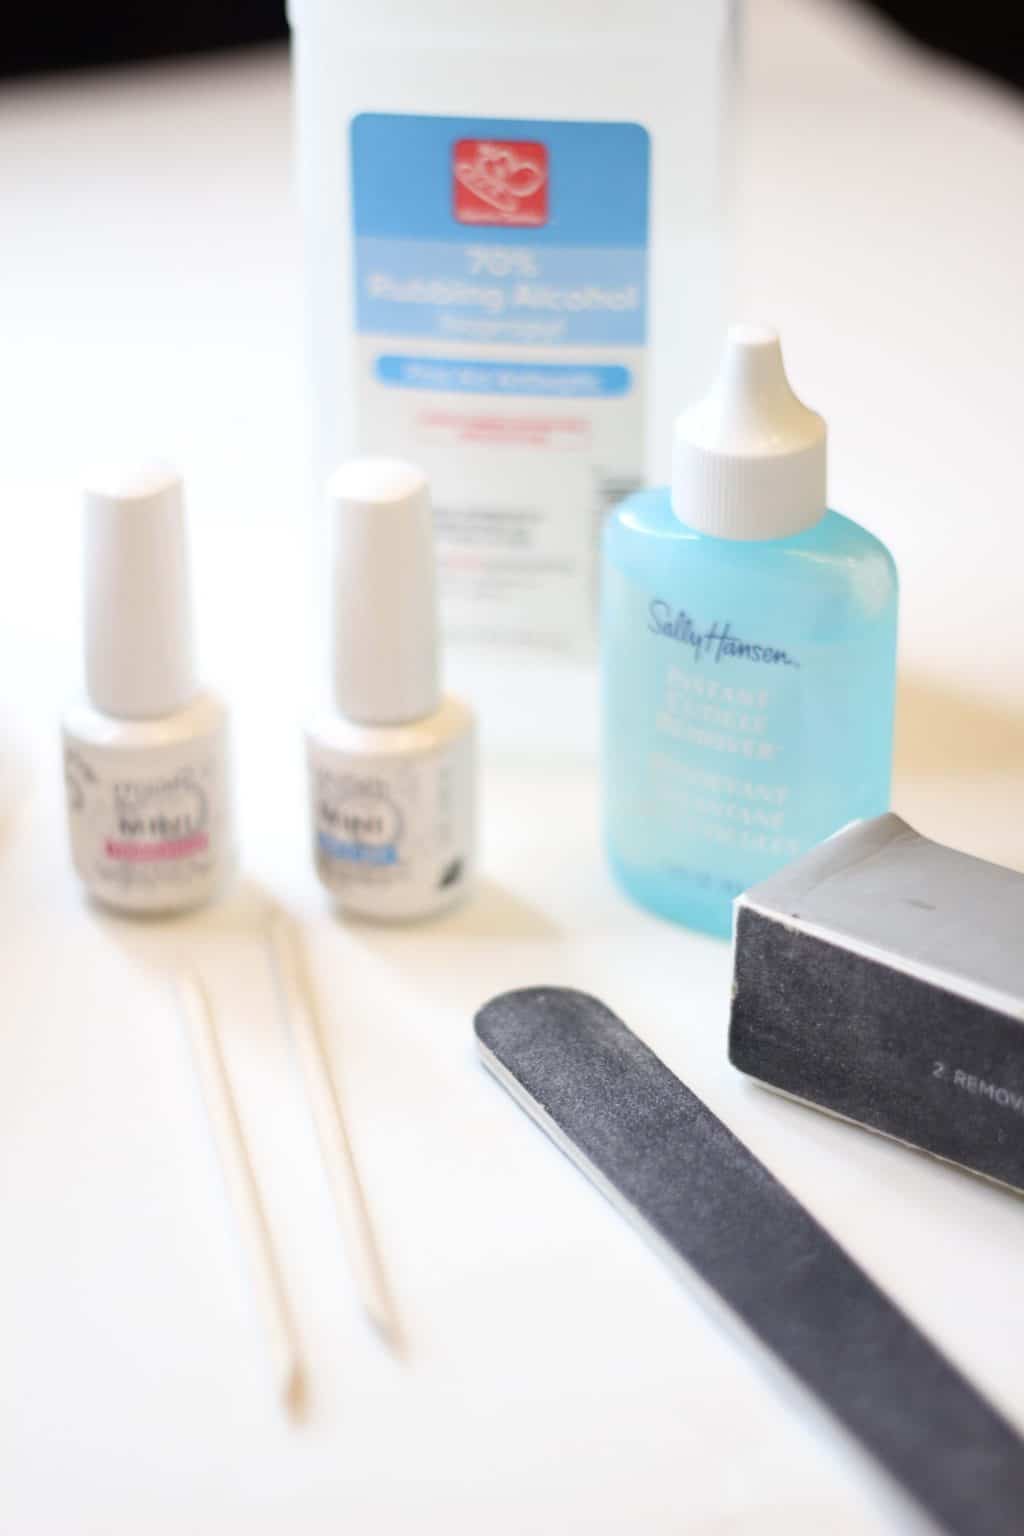
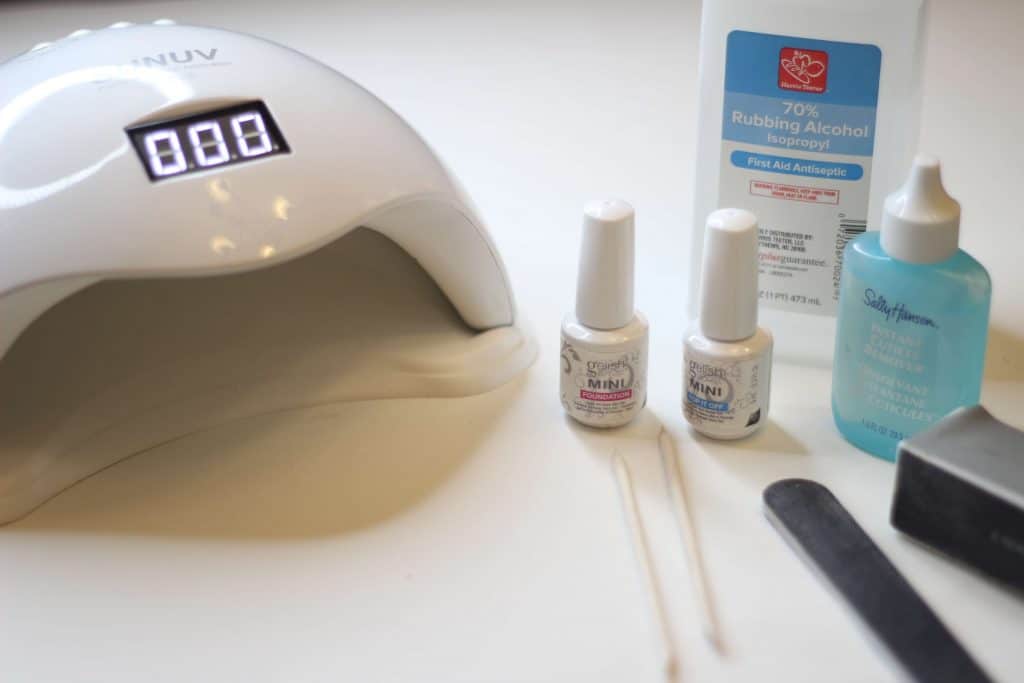
Gel Lamp: there are a lot of options, but I have this one and have been very happy with it.
Acetone: regular polish remover won’t work on gel. You need the 100% acetone.
Polish Remover Clips: these just make life so much easier when removing polish!
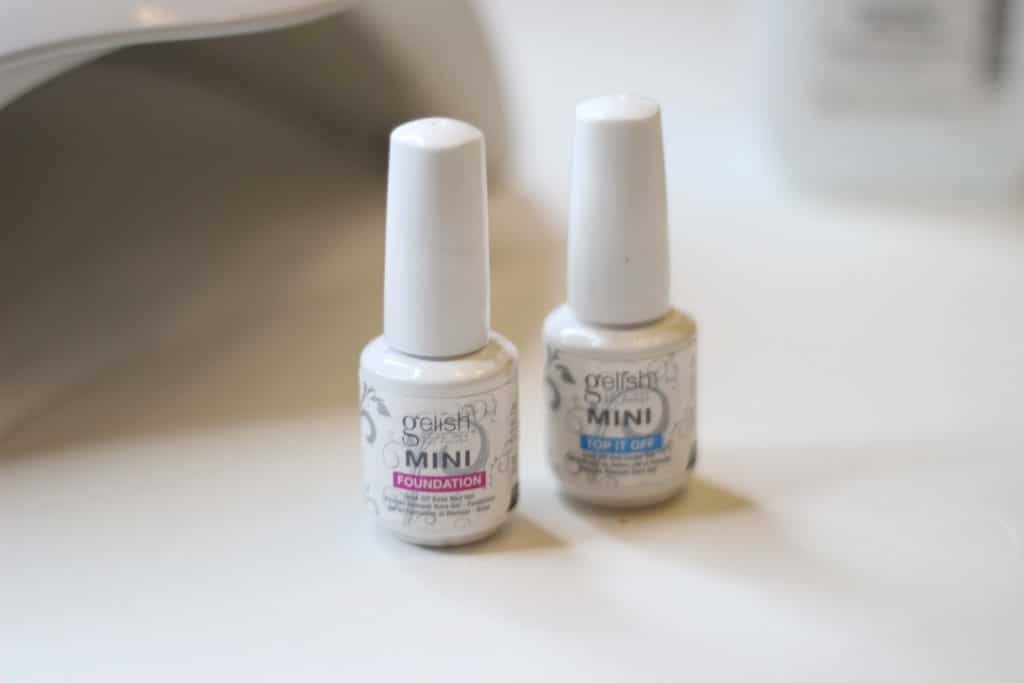
Base Coat and Top Coat Set: this will last a long time. I’ve used the same mini bottles for 4 months.
Gel Polish: there are a lot of options here. I like the Gellish brand or the OPI gel.
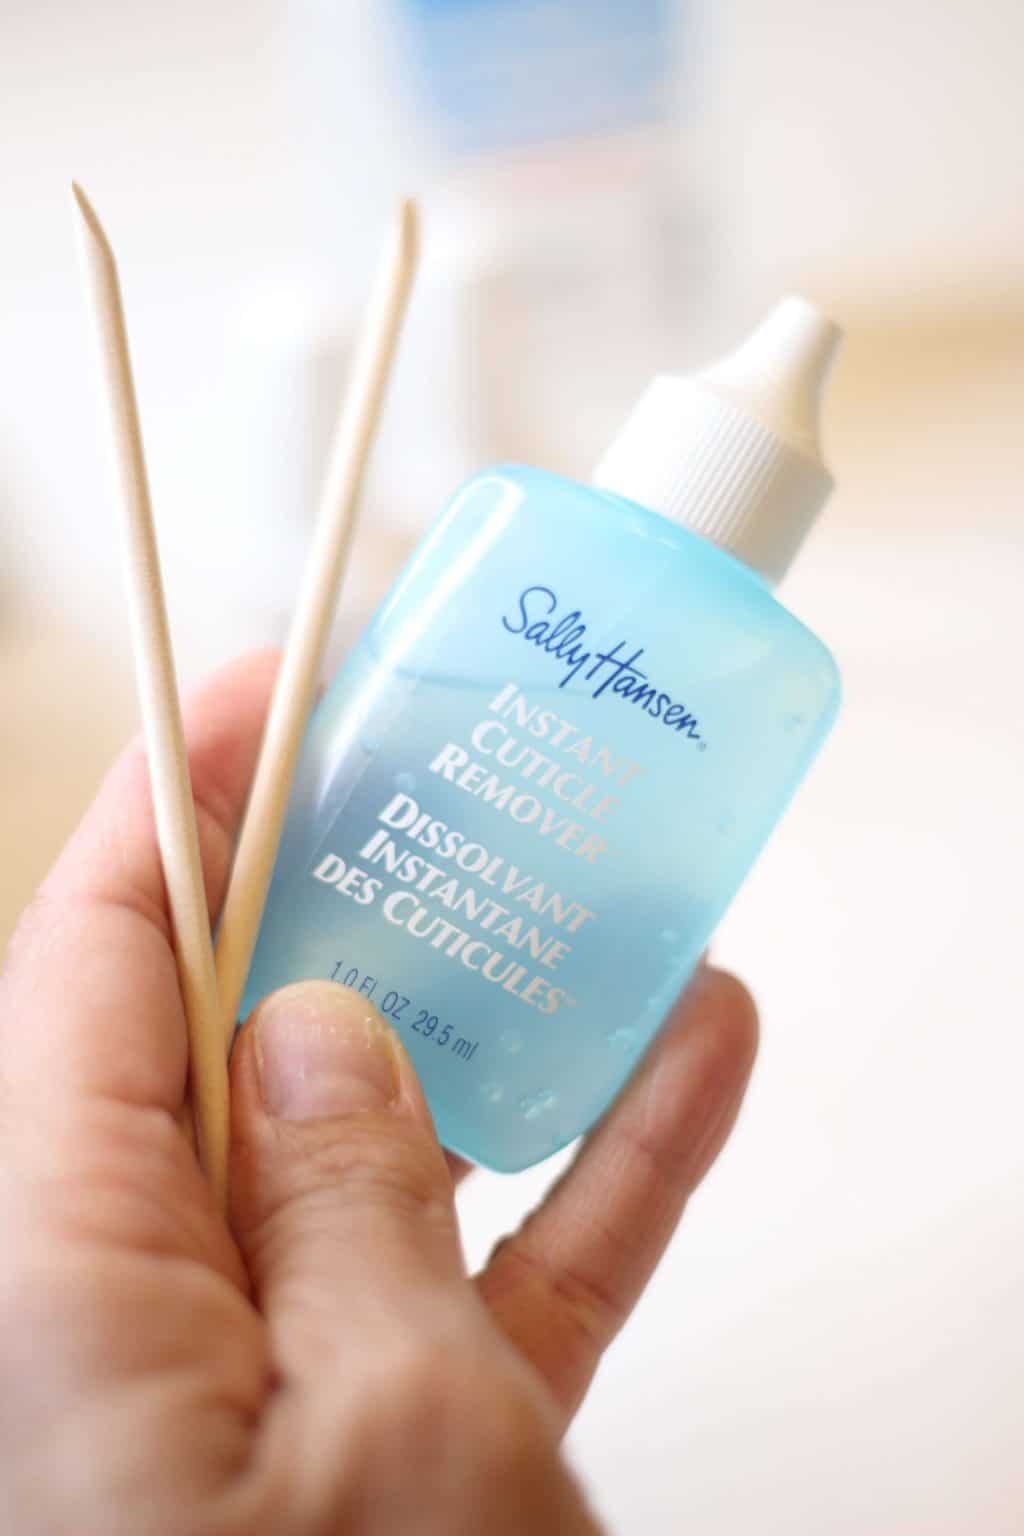
Cuticle Remover: this is the one I have, but this one gets great ratings and is cheaper.
Cuticle Pusher and Clipper: this is also used to scrape the old gel off.
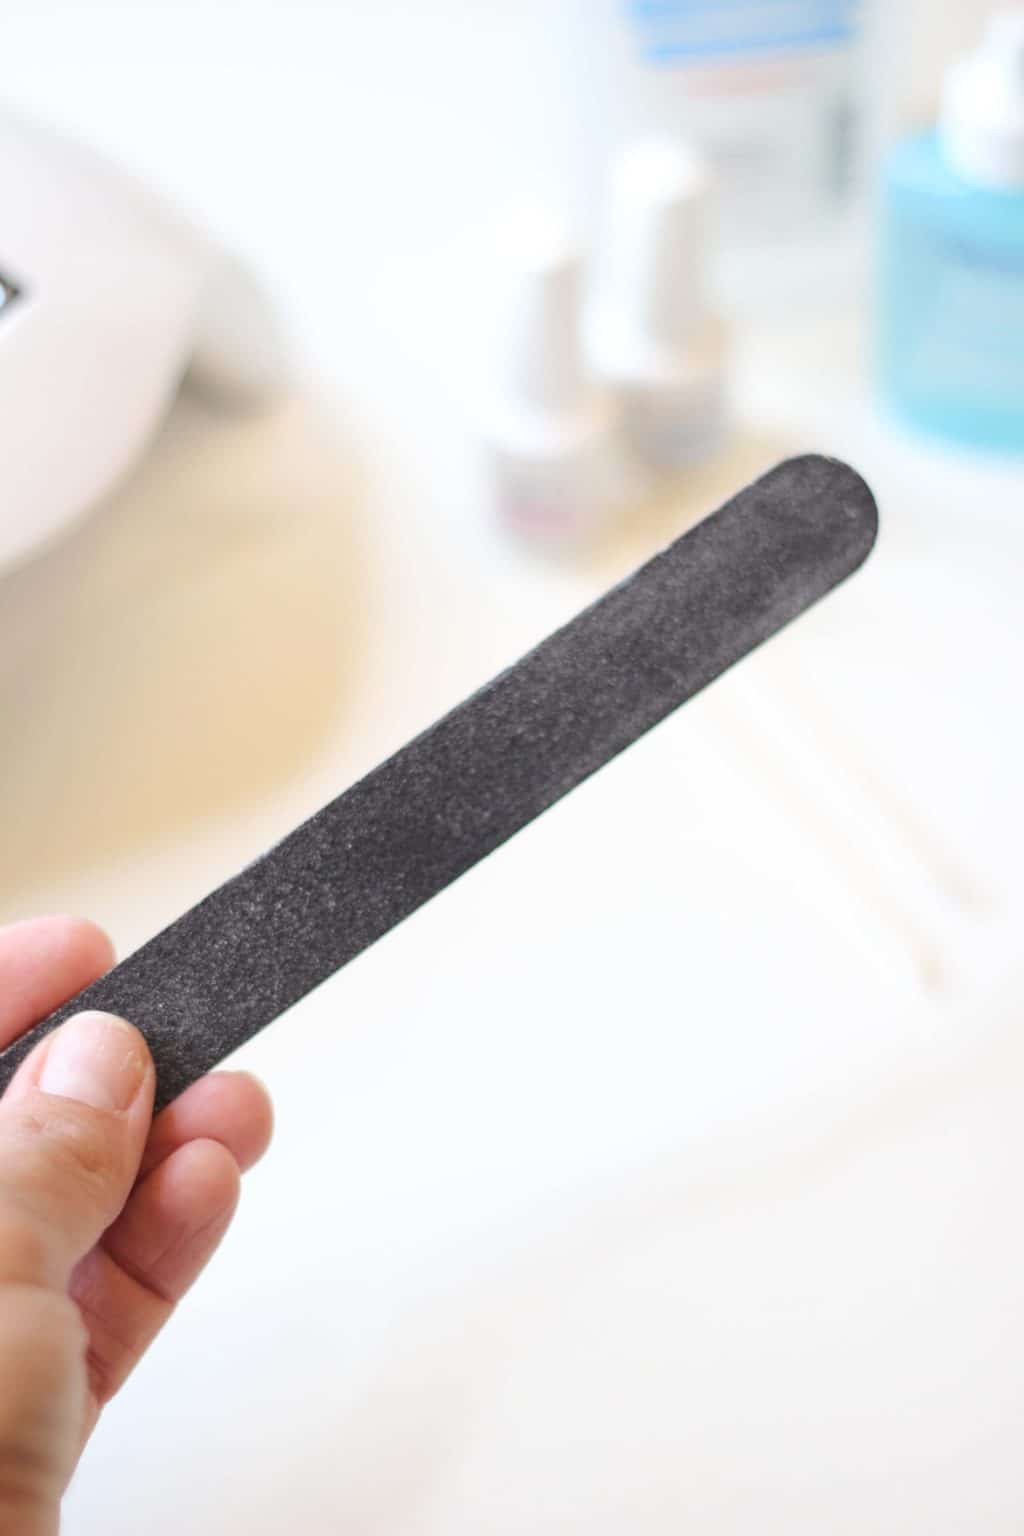
Nail File
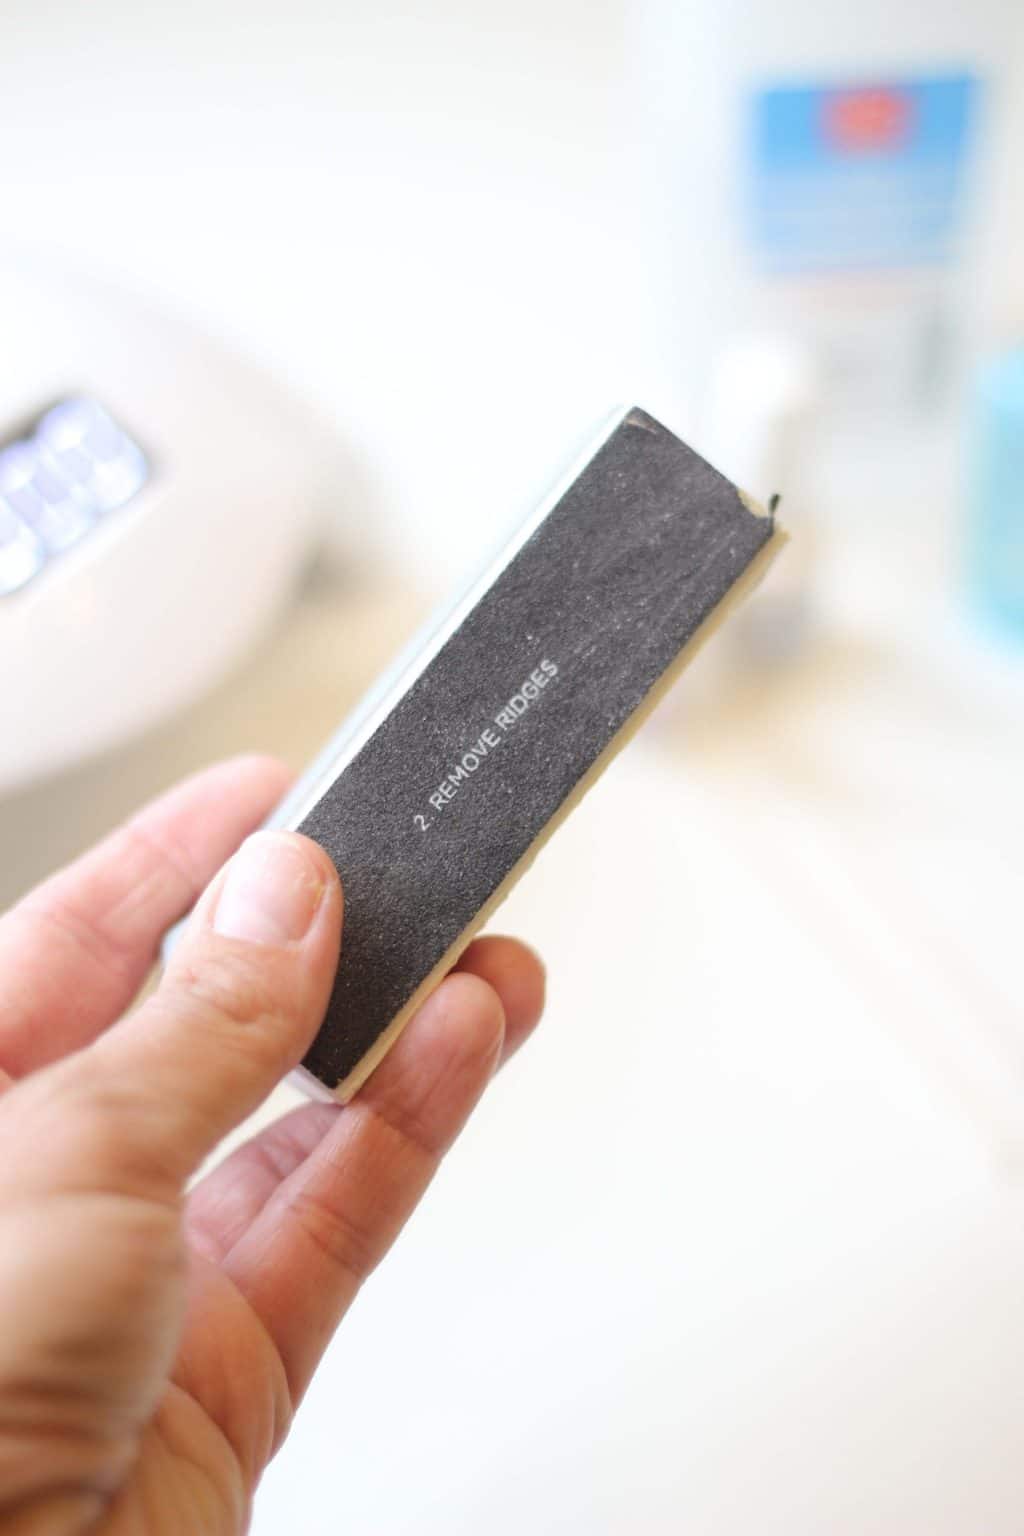
Buffing Cube
Cotton Balls
Rubbing Alcohol
At Home Gel Manicure: Set-By-Step
Step 1.
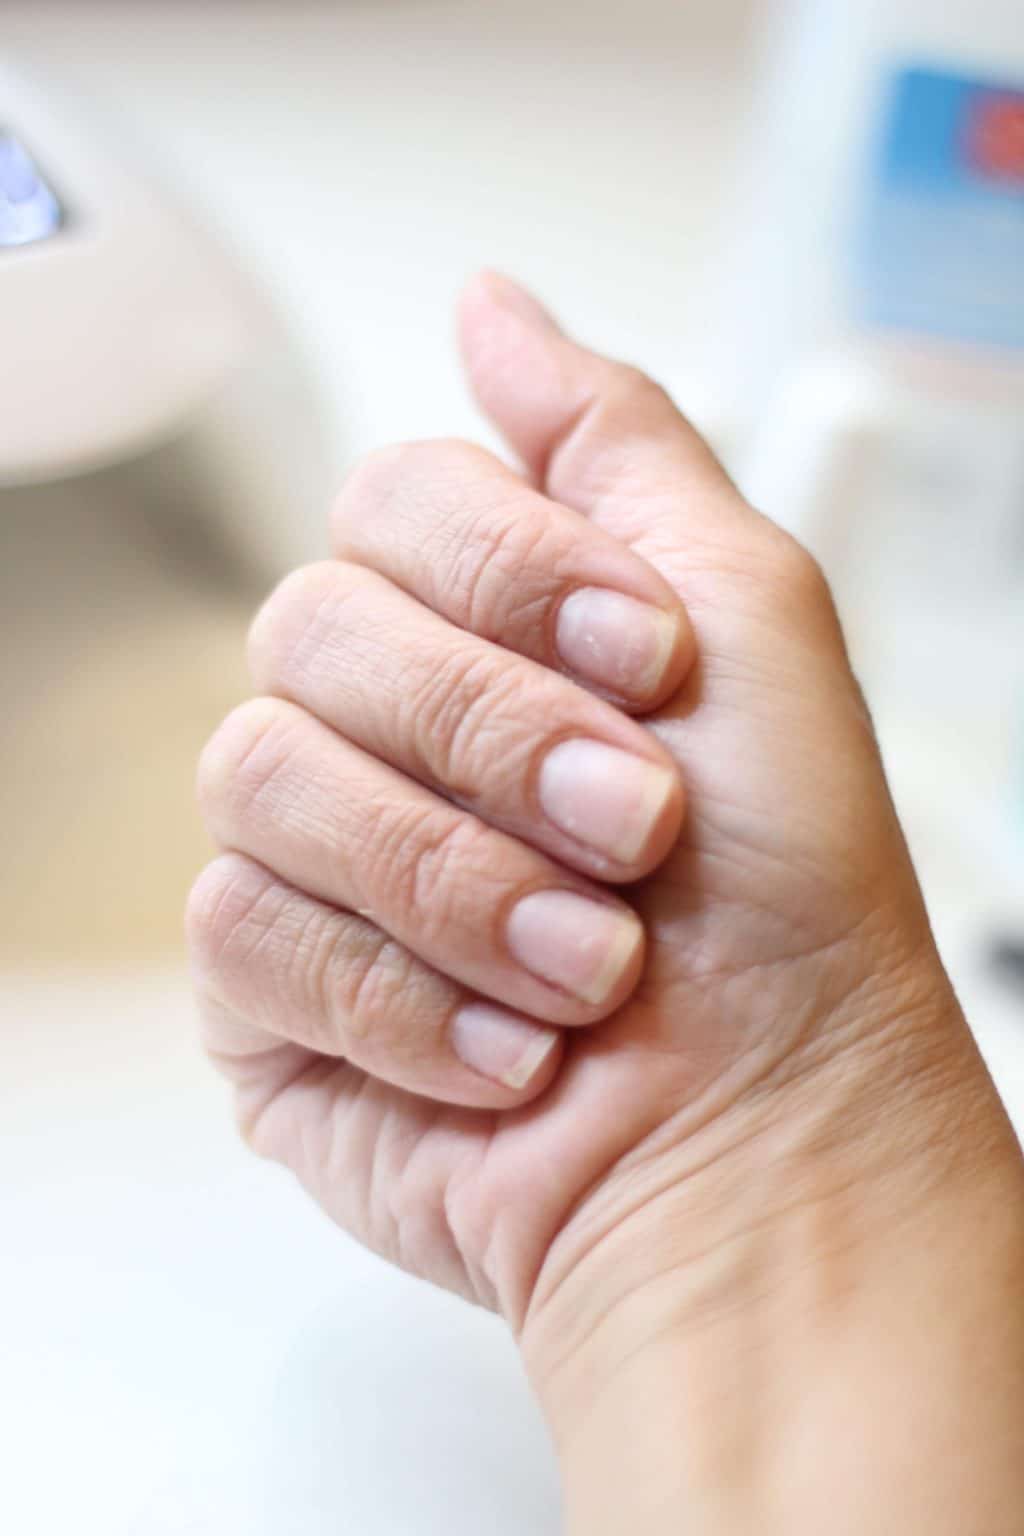
If you have gel on your nails, buff the nail a little to start. Cut a cotton ball in half, dip in acetone and clip it onto the nail with the polish remover clips. Let them sit for about 10 minutes. You can also soak them in acetone, but that can irritate your skin more! Use the cuticle pusher to push the gel off, from base to tip. It should come off pretty easily. If not, soak it a bit longer.
Step 2.
Apply the cuticle remover liquid to the cuticles and rub it in just a little. Let it sit a minute, then push the cuticles back gently. You will see excess cuticle that you can wipe off, then clip off any that don’t wipe off easily.
Step 3.
Use clippers and a nail file to get the length and shape you desire. Once you’re done, buff the tops of the nail just to rough them up a little bit. This helps the polish adhere better.
Step 4.
Rinse your nails with just water and pat dry. Wipe each nail with rubbing alcohol and allow to dry.
Step 5.
Time to paint! This is the step where I start with just 1 hand. I do steps 5-9 with my left, then repeat on my right. Apply a thin (and I mean THIN!) layer of the foundation onto each nail. I can usually dip the brush, wipe each side, and still have enough on it for 1 whole hand. When done, cure under the lamp for 90 seconds.
Step 6.
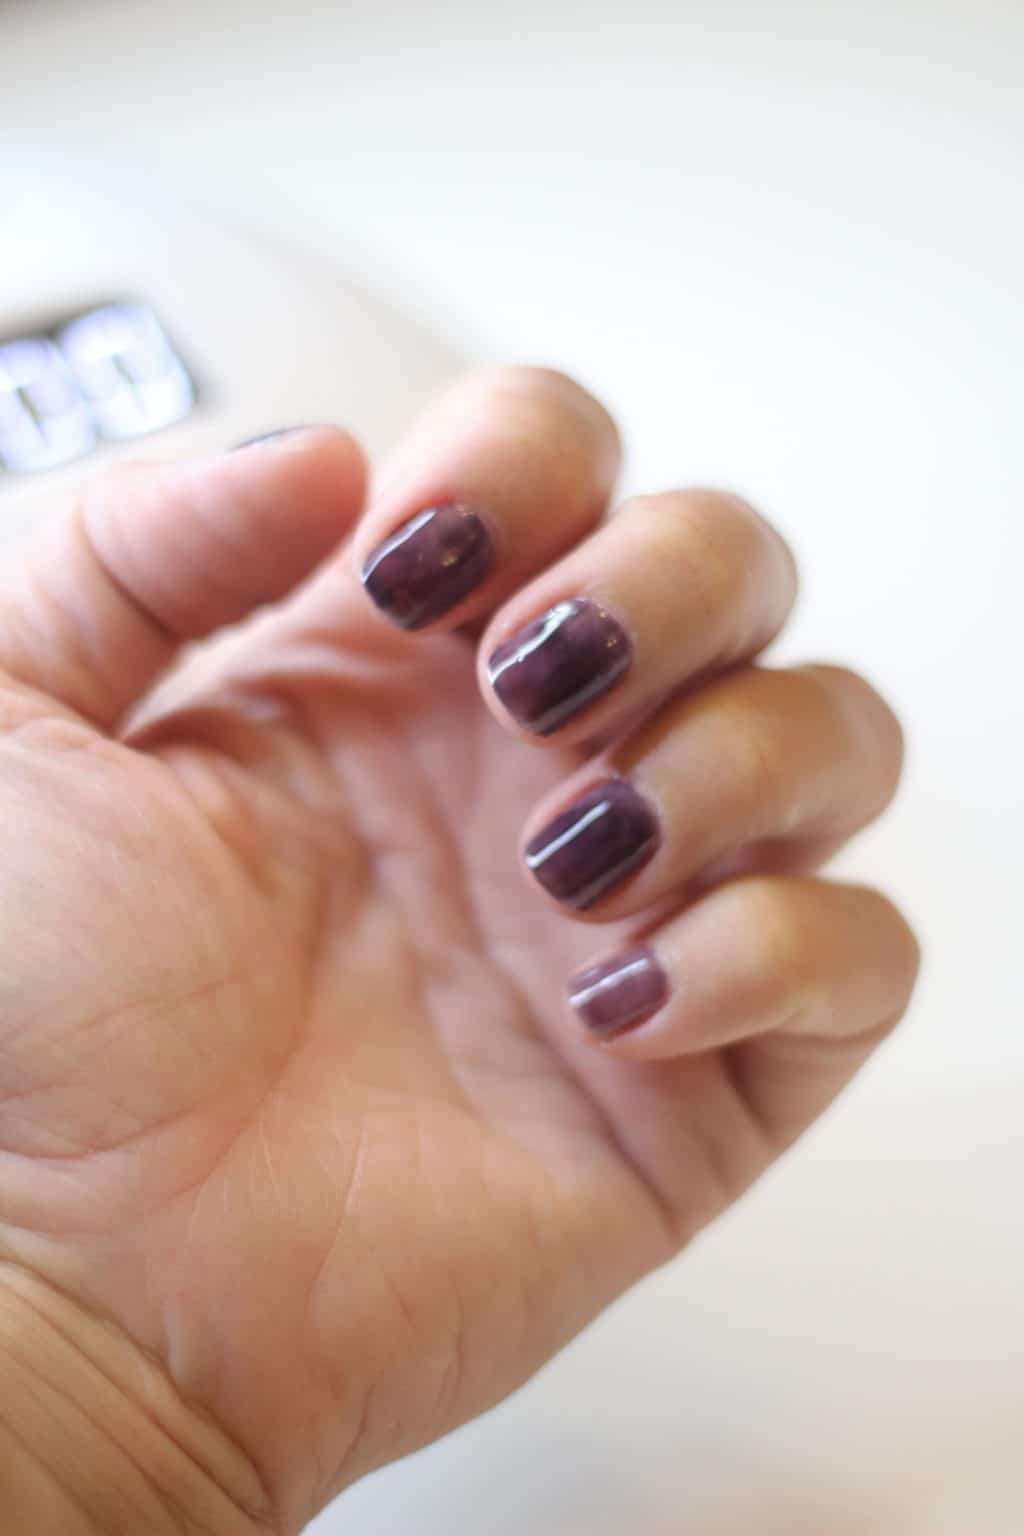
Paint your nail with the gel polish. Again, you want as thin of a layer as possible. You will see in the photo just how thin my first layer is. I like to make sure I “wrap” the nail with the color, getting it up onto the top. This helps prevent chipping. If you get any paint on your skin, use a toothpick, or your cuticle pushers to wipe it off before you put your hands in the light. Cure for 90 seconds.
Step 7.
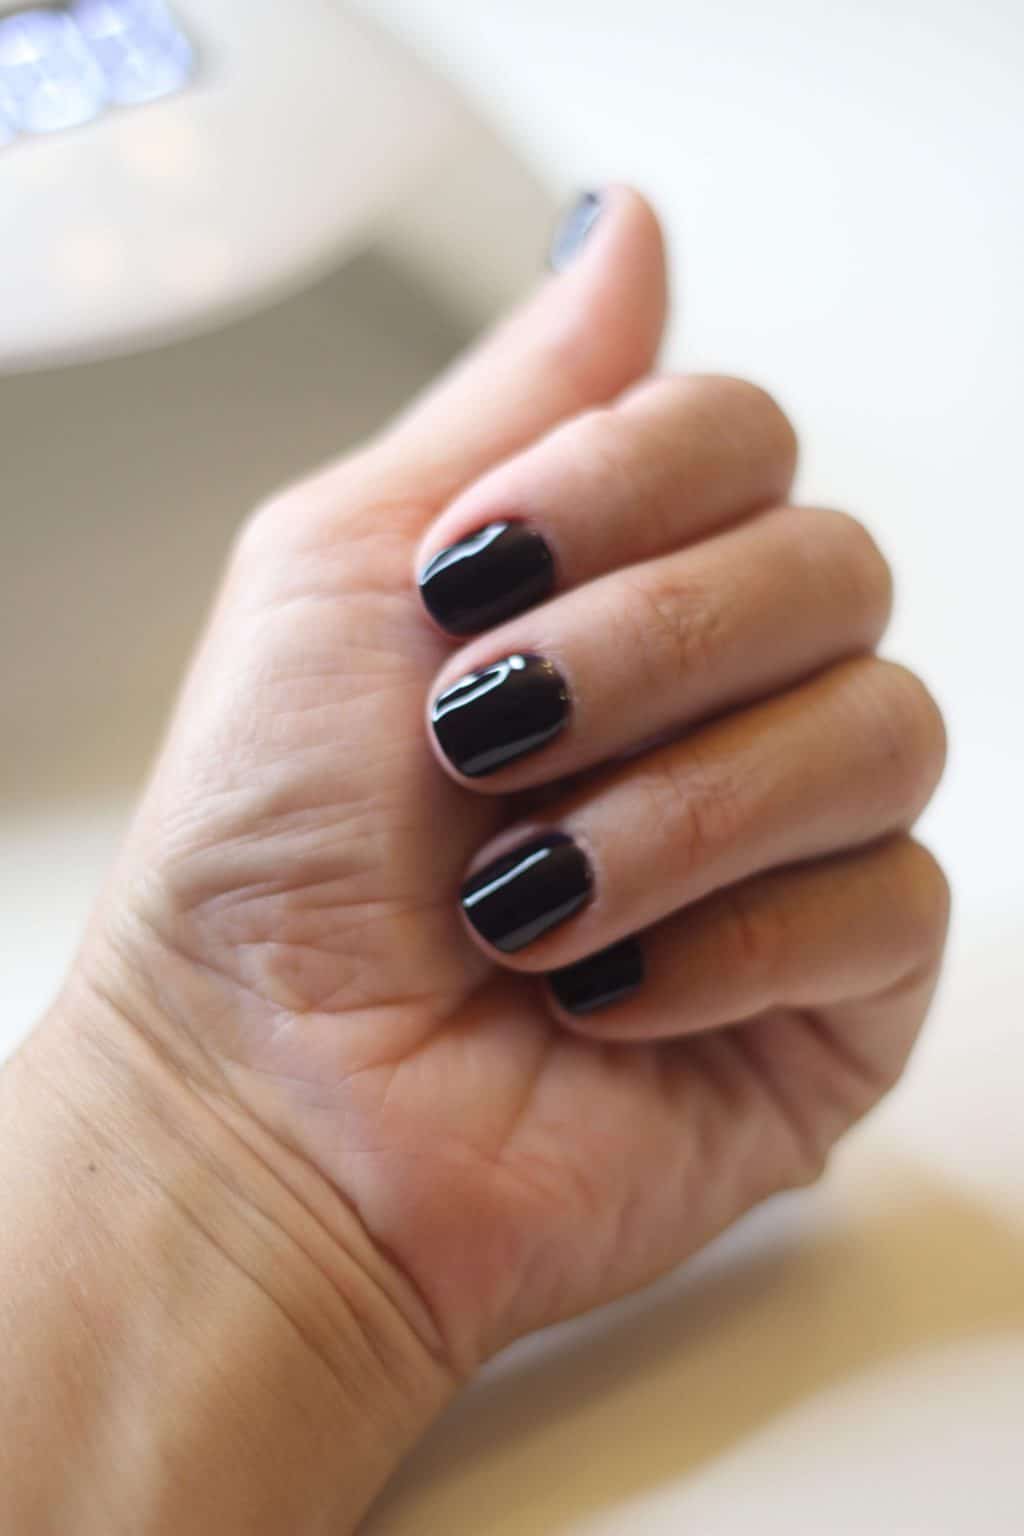
Repeat layers of color until you have the desired. Some of my colors I do 2 coats, some 3. This color is OPI’s Lincoln Park After Dark and I wanted it nice and dark, so I added a 3rd coat. Cure 90 seconds after each coat.
Step 8.
Apply the top coat. This is where you will get your sheen! This is also a very thin layer and you want to make sure you get it on the top of the nail as well. Wipe any excess off of your skin and I cure this layer for 120 seconds.
Step 9.
Use an alcohol soaked cotton ball to wipe each nail. Don’t worry, it won’t take the paint off! Repeat steps 5-9 on your unpainted hand and you’re done! You can touch anything and that makes this easy to do at night time once the kids go to bed. Your sheets won’t leave marks on your fresh nails!
Remember, this is somewhat of an art. It has absolutely taken me some practice, but it’s totally worth it! Early on, you will probably just notice peeling earlier than you’d like. But keep trying and I really don’t think you’ll regret it!
