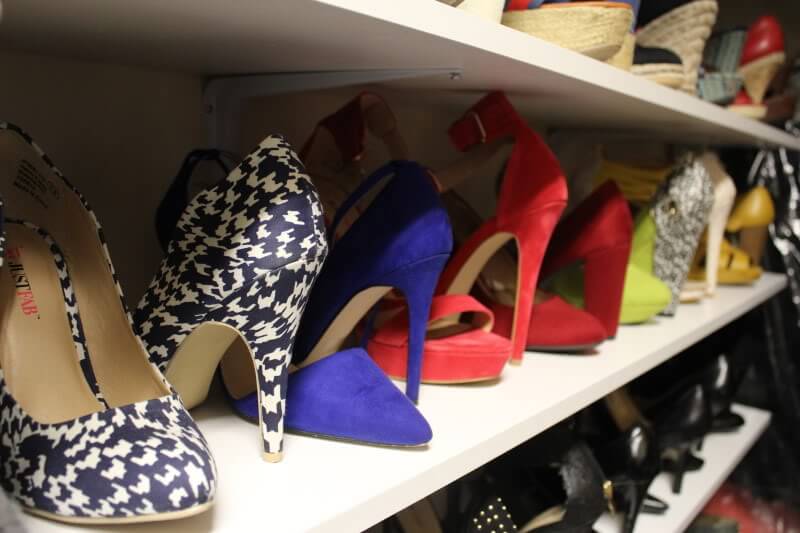
Simply by the name of this blog, you know that I’m kinda a shoe gal. I don’t like getting rid of any and up until this move, my shoes have been living in their boxes. With 120 some odd pairs, you can imagine how much space that took up. I decided when we moved here, that I wanted to do something to display my shoes. This would show off the pretty ones, as well as force me to get rid of the awful ones.
The hubs went out of town last week and I got to work. 3 hours and $70 later, my shoes were proudly on display. Well, the pretty ones.
Step 1: Measure
Before you even buy supplies, you’ll need to decide how high up you want your first shelf, then how far apart you want all your shelves. I went with 18″ off the ground for my first shelf so that my tall boots could stand up underneath. The rest of the shelves are all 9″ apart. This worked out for me to make everything nice and even looking in the space I had. Make sure you double and triple measure before you go putting holes in the wall. Once you decide on your measurements, mark in pencil where the first 2 bottom brackets should go, height wise.
Step 2: Hang your brackets
I used a stud finder to since I wanted to make these shelves as sturdy as possible. Since the bracket goes up into a Y shape, I hit the stud with 2 screws and had to use a dry wall anchor on 1 of them. Make sure your brackets are level before hanging the second one. I used a yardstick and this tiny level since I couldn’t find our regular one! Hold the second bracket in place with the yard stick balanced. move until it’s level, then mark the screw holes with pencil. 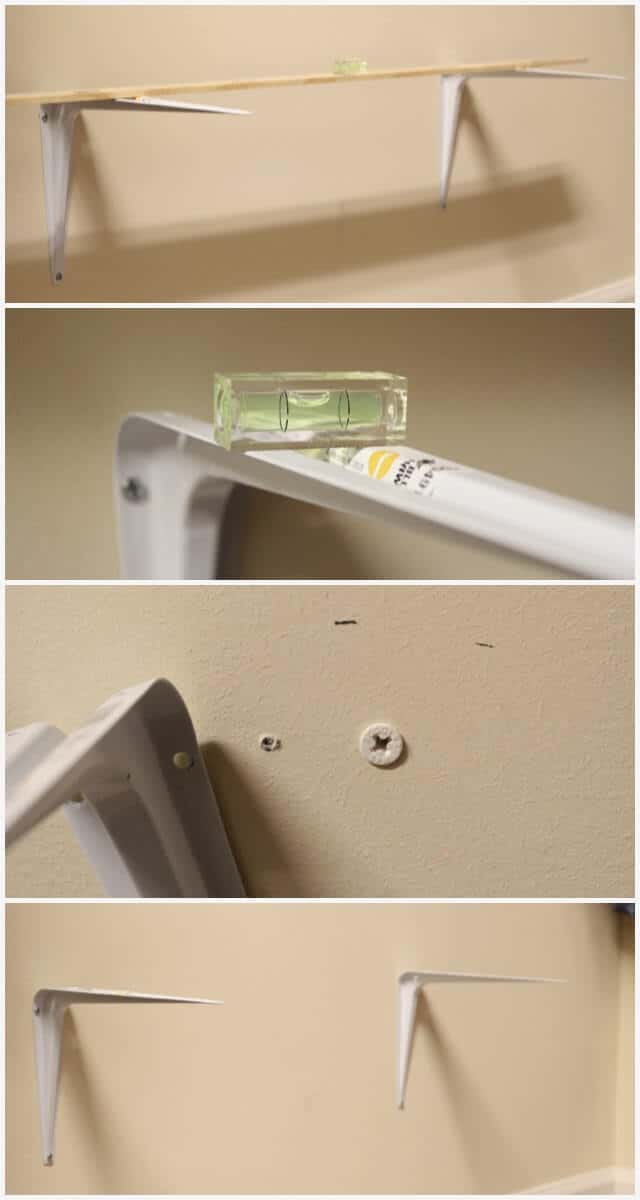
Once you get that first set of brackets hung, it’s easy. Just keep measuring up, and drilling in the brackets, making sure you are keeping everything level.
Step 3: Attach your shelves
Start from the top! This is important so you have room to get the drill and your arm underneath to put the screws in. Going from underneath, put the wood screw through the bracket and into the shelf, pushing down on the shelf as you go.
Step 4. Add your shoes!
Step back and feel like a total rockstar. Send pictures to your besties, then fill those shelves up! 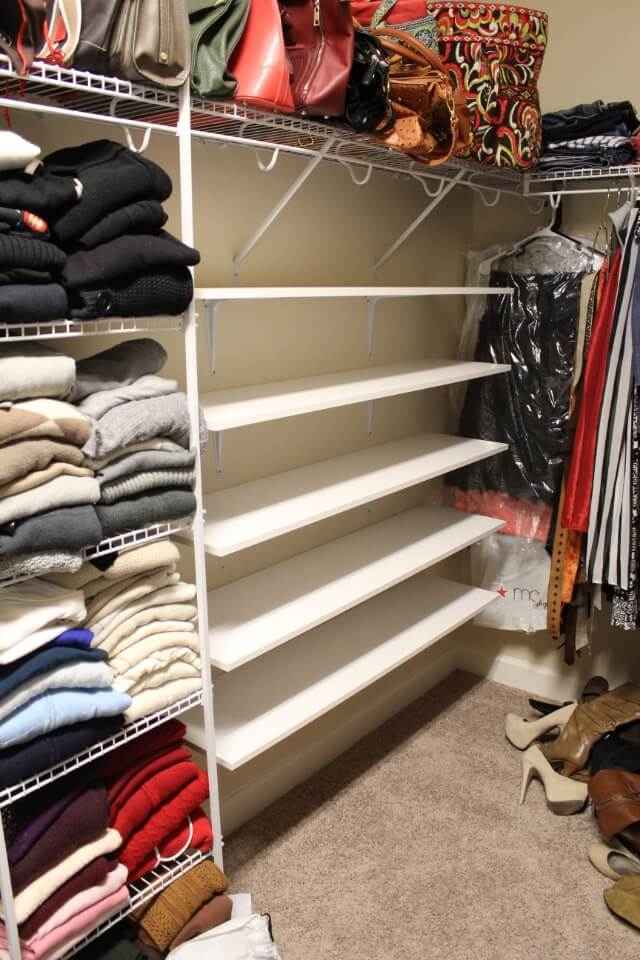
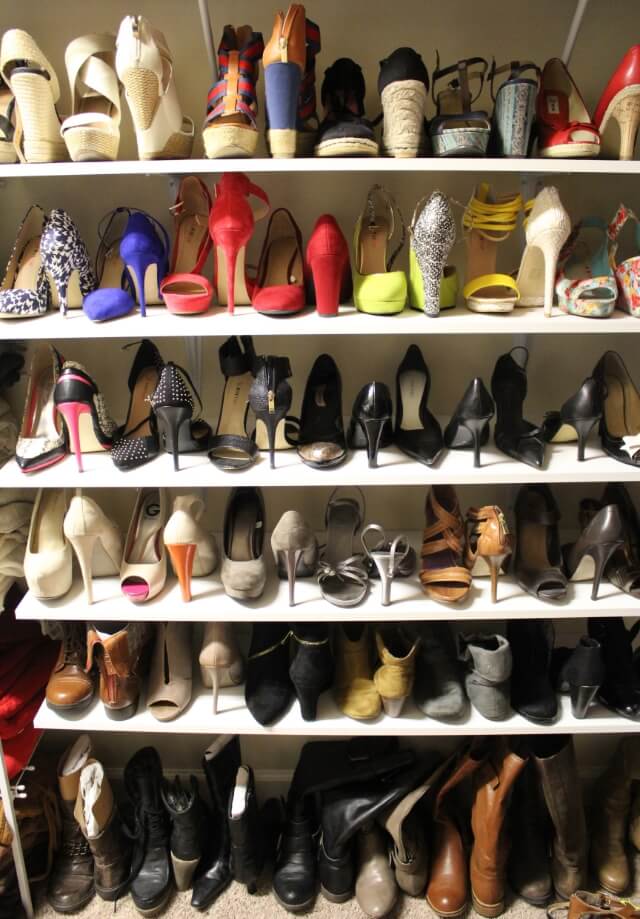
Put your shoes in however makes the most sense for you. I alternated the direction of mine to maximize space. I have a shelf of booties, a shelf of colorful shoes, a shelf of wedges and a shelf of black shoes. I have all my bags on the existing shelf above the shoes.
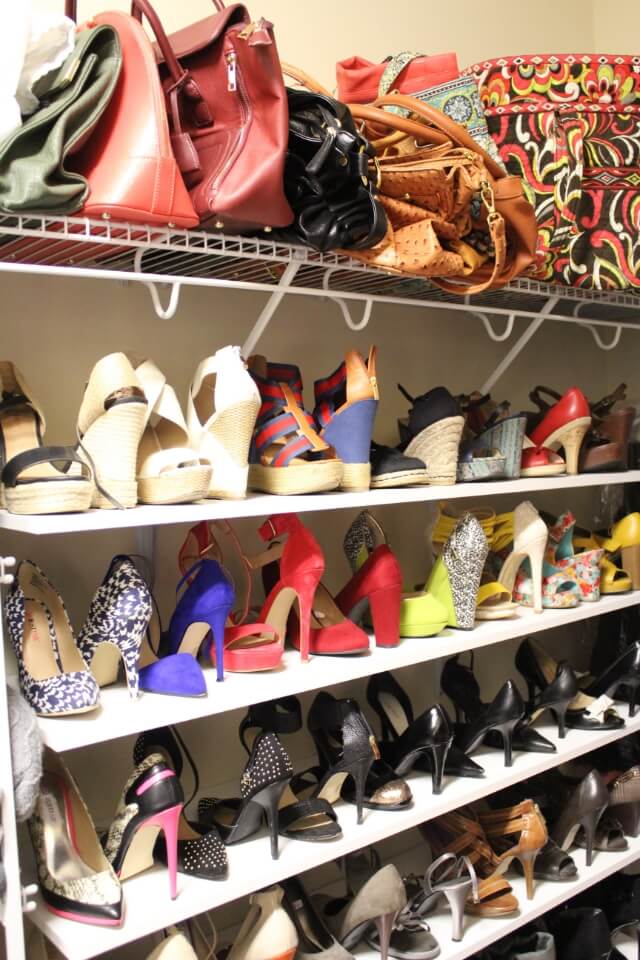
I have a few pairs of flats and sandals on the floor still. I did end up getting rid of 23 pairs of shoes, so I’m proud of myself. Next step, jewelry organizing and eventually, hanger uniformity!
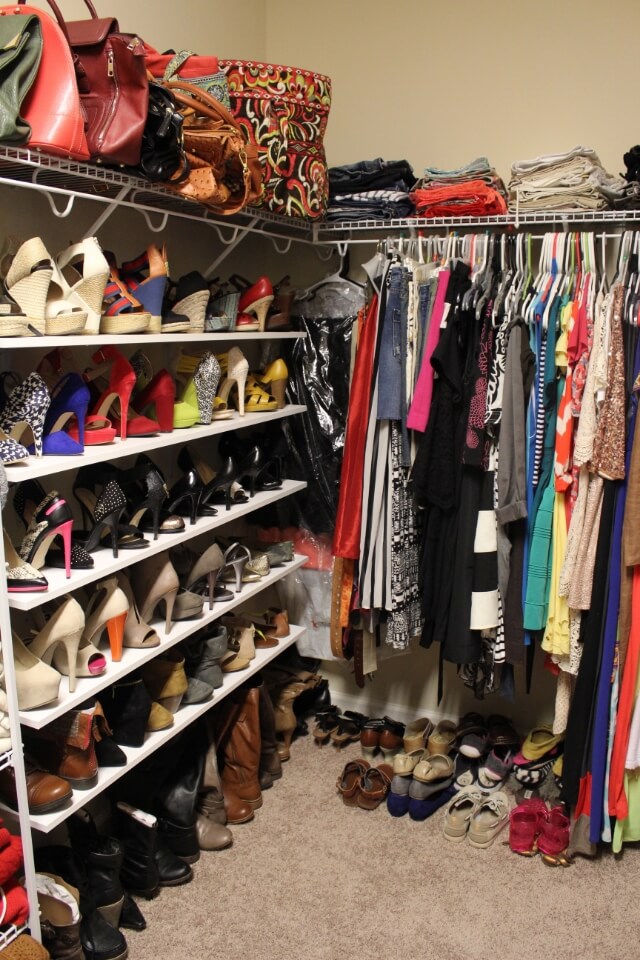
I debated buying some of those cube shoe organizers, but they would have cost way more and would have taken up much more room. I’m so happy with how these turned out!
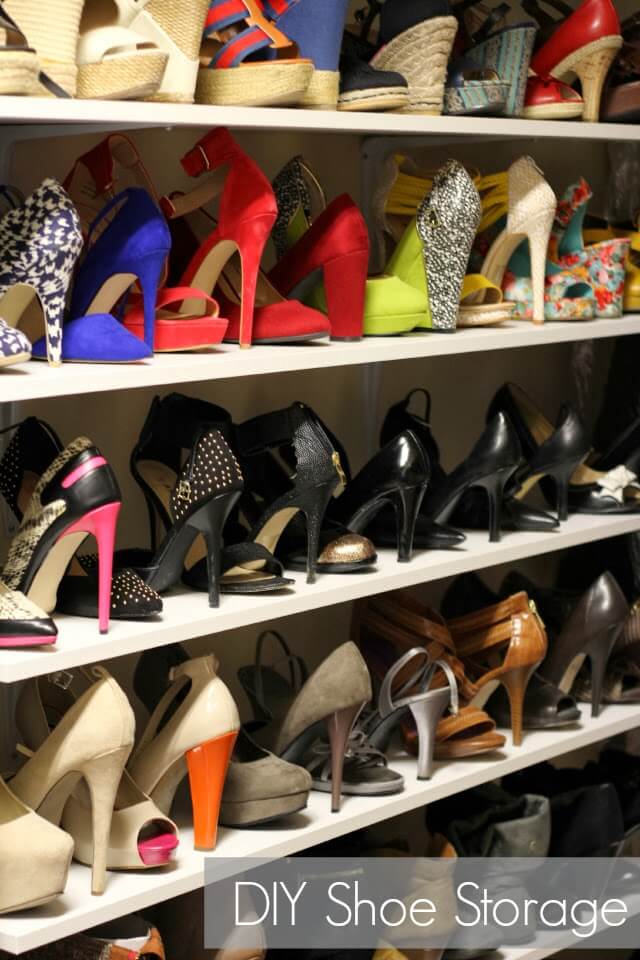
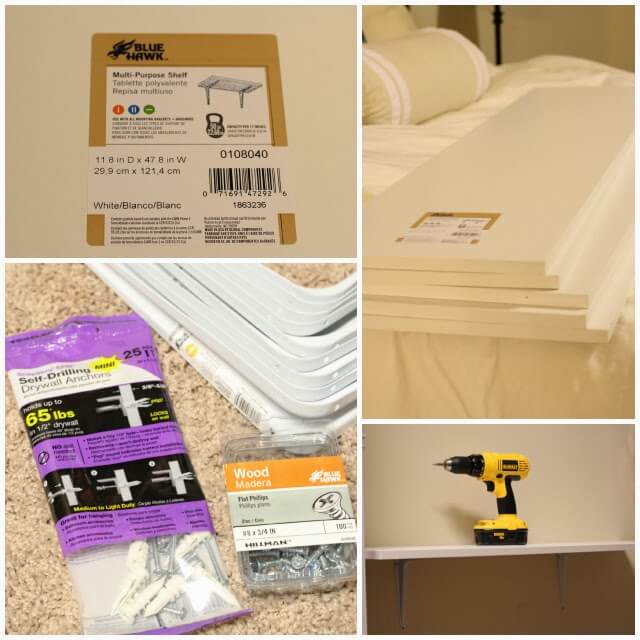

You would die laughing at my tiny shoe collection! Your's looks like work of art 🙂 Love the new shelf!
Ohhh I love it!
I love this! I can't wait to have a closet with storage space!!
love it! ! !
pls follow me back ! http://www.meandbella.com
I have those cubed cubbies, but I like the way yours looks better. It's more organized and you can see the whole shoe. Love it
It's so pretty… 🙂
This storage place is great to store your excess items, whichever they may be.
Marlene
Seattle Sewer Repair